inventory编写(定义组)、ansible.cfg 主配置 文件.note
一、配置 ansible.cfg 文件
1、输出一个 ansible.cfg.bak 参考文件:
apt install -y ansible
mkdir /etc/ansible

ansible-config init > /etc/ansible/ansible.cfg.bak
cat ansible.cfg.bak    # 查看参考文件进行配置
2、书写 ansible.cfg 文件:
可以导出 配置文件参考:
ansible-config init > ansible.cfg.bak[defaults]
host_key_checking=False //忽略 ssh 指纹检查(必要)
inventory=/etc/ansible/inventory.yml //指定 inventory 文件的路径
timeout=60 //当 被控端端口连接时,指定timeout的时间ansible.cfg 文件 可选项:
forks = 50    //设置并发连接数量(默认为 5)
remote_port = 22    //设置被控端的端口
二、书写 inventory host 主机清单
有两种写法:
1、使用 yaml 格式进行书写 (推荐)
2、使用 init 格式进行书写
1、使用 yaml 格式书写,并自定义组:
(1)先定义所有 host,最后再将其分组:
---
all:
  hosts:
    router1:
      ansible_host: 172.16.1.254
      public_ip: 200.1.1.252
      hostname: router1
    LVS01:
      ansible_host: 172.16.1.100
      hostname: LVS01
    LVS02:
      ansible_host: 172.16.1.101
      hostname: LVS02
    CDN01-Squid:
      ansible_host: 172.16.1.102
      hostname: CDN01-Squid
    CDN02-Squid:
      ansible_host: 172.16.1.103
      hostname: CDN02-Squid

    router2:
      ansible_host: 192.168.10.254
      public_ip: 200.1.1.253
      hostname: router2
    LB01-Nginx:
      ansible_host: 192.168.10.100
      hostname: LB01-Nginx
    LB02-Nginx:
      ansible_host: 192.168.10.101
      hostname: LB02-Nginx
    RS01-Apache:
      ansible_host: 192.168.10.102
      hostname: RS01-Apache
    RS02-php:
      ansible_host: 192.168.10.103
      hostname: RS02-php
    RS03-php:
      ansible_host: 192.168.10.104
      hostname: RS03-php
    storage01-nfs:
      ansible_host: 192.168.10.105
      hostname: storage01-nfs
    storage02-mariadb:
      ansible_host: 192.168.10.105
      hostname: storage02-mariadb

    router3:
      ansible_host: 192.168.20.254
      public_ip: 200.1.1.253
      hostname: router3
    haproxy01:
      ansible_host: 192.168.20.100
      hostname: haproxy01
    haproxy02:
      ansible_host: 192.168.20.101
      hostname: haproxy02
    CDN03-Nginx:
      ansible_host: 192.168.20.102
      hostname: CDN03-Nginx
    CDN04-Nginx:
      ansible_host: 192.168.20.103
      hostname: CDN04-Nginx

  children:
    router-01:
      hosts:
        router1:
        LVS01:
        LVS02:
        CDN01-Squid:
        CDN02-Squid:

    router-02:
      hosts:
        router2:
        LB01-Nginx:
        LB02-Nginx:
        RS01-Apache:
        RS02-php:
        storage01-nfs:
        storage02-mariadb:

    router-03:
      hosts:
        router3:
        haproxy01:
        haproxy02:
        CDN03-Nginx:
        CDN04-Nginx:
(2)先定义组的写法
---
all:
  children:
    router02:
      hosts:
        router:
          ansible_host: 192.168.10.254
          hostname: router
        RS01-Apache:
          ansible_host: 192.168.10.102
          hostname: RS01-Apache
        RS02-php:
          ansible_host: 192.168.10.103
          hostname: RS02-php
        RS03-php:
          ansible_host: 192.168.10.104
          hostname: RS03-php
        storage01-nfs:
          ansible_host: 192.168.10.105
          hostname: storage01-nfs
    web:    # 一个主机可以同时存在于多个组中
      hosts:
        RS03-php:
          ansible_host: 192.168.10.104
          hostname: RS03-php
        storage01-nfs:
          ansible_host: 192.168.10.105
          hostname: storage01-nfs
2、使用 init 格式:
vim /etc/ansible/hosts    //默认路径
[LIN]
192.168.10.[11:13]
[LIN:vars]
ansible_ssh_pass = "Skills39!"
ansible_python_interpreter = /usr/bin/python3
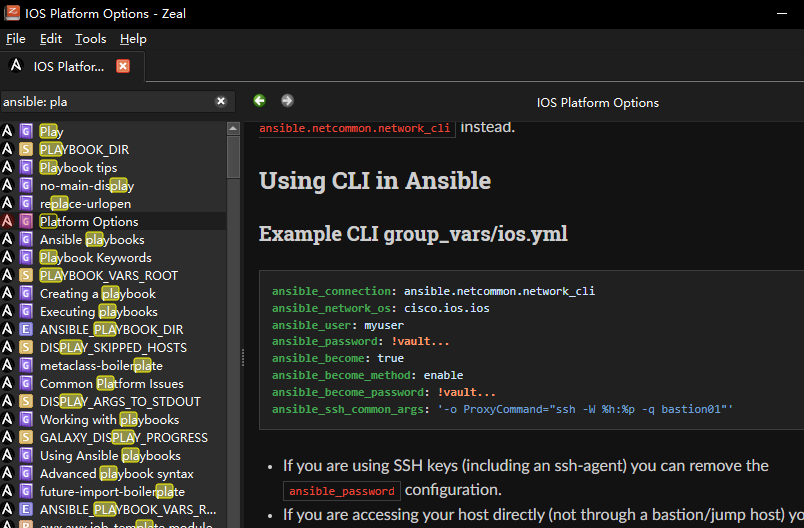
三、配置 连接用户、提权配置文件:
group_vars 必须要配置在与 inventory文件同一目录下
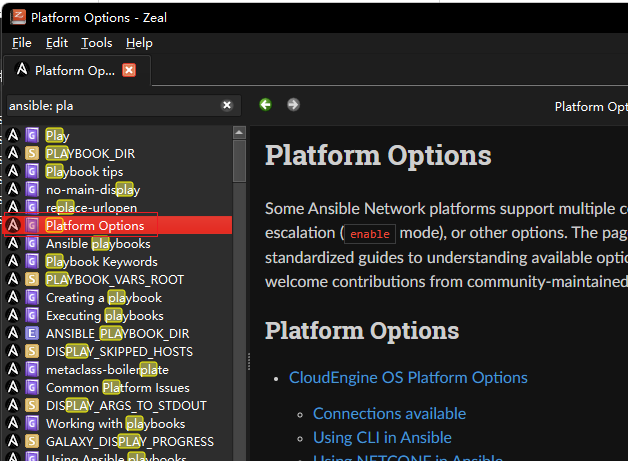
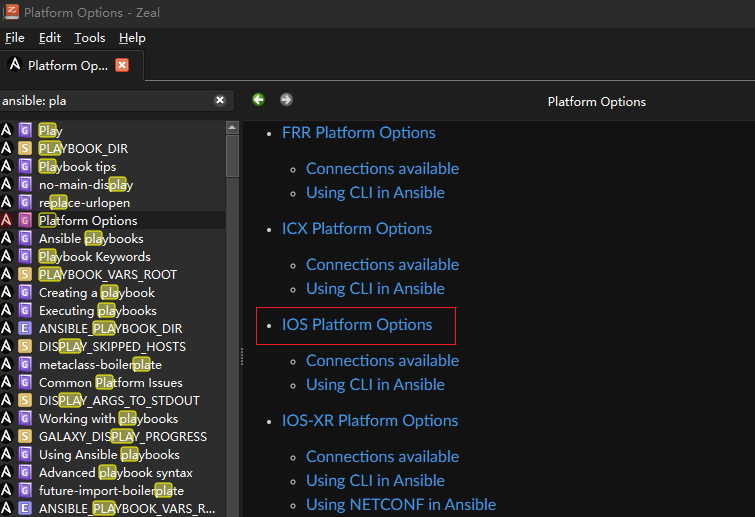
可以在离线文档中照抄模板:
搜索: ansible: pla
mkdir group_vars
vim group_vars/all.yml