基础配置.note
1、环境配置:
(1)在要远程连接的网络设备上进行配置 (开启 SSH):
en

conf t

no ip domain lo

username admin sec Skill39!

enable secret Skill39!

ip domain-name wsc2023

lin con 0

logg s

exec-t 0 0

exit

crypto key gen rsa mo 2048 lab ssh.key

ip ssh v 2

lin vty 0 4

login local

transport input ssh

exit
(2)Ansible 主控端配置:
apt install -y ansible python3 python3-passlib python3-paramiko
·编写 /etc/ssh/ssh_config 文件:
vim /etc/ssh/ssh_config
# 在末尾添加:
Kexalgorithms +diffie-hellman-group14-sha1

HostKeyAlgorithms +ssh-rsa
(3)编写 Ansible 主配置文件:
mkdir /etc/ansible
vim /etc/ansible/ansible.cfg
# 输入以下内容:
[defaults]

host_key_checking = False

stdout_callback = yaml

bin_ansible_callback = true
(4)编写 hosts 主机清单:
vim /etc/ansible/hosts
# 输入以下内容:
all:

  children:

    iosv:

      hosts:

        R1:

          ansible_host: 192.168.10.11

        R2:

          ansible_host: 192.168.10.12

    csr1000v:

      hosts:

        R3:

          ansible_host: 192.168.10.13

        R4:

          ansible_host: 192.168.10.14

  vars:

    ansible_user: admin    # 登陆 console 的用户

    ansible_password: Skill39!  # 登陆 console 的密码

    ansible_connection: network_cli

    ansible_network_os: ios

    ansible_become: yes

    ansible_become_metod: enable

    ansible_become_pass: Skill39!        # enable 密码
(5)尝试 ping 网络设备,然后进行 ssh 连接:
2、编辑 json/xml 文件:
(1)编写 json 文件:
mkdir /etc/ansible/xml
mkdir /etc/ansible/json
vim R1_interface.json

# 输入以下内容:
{

 "configuration":{

   "interface":{

     "name":"GigabitEthernet0/1",

     "switchport":false,

     "ip":{

       "address":"172.168.1.1",

       "subnet-mask":"255.255.255.0"

     }

   }

 }

}
(2)编写 xml 文件:
<configuration>

  <interface>

    <name>GigabitEthernet0/1</name>

    <switchport>false</switchport>

    <ip_address>

      <ipv4>

        <address>172.168.1.11</address>

	<netmask>255.255.255.0</netmask>

      </ipv4>

    </ip_address>

  </interface>

</configuration>
3、编写剧本:
(1)修改主机名(剧本):
vim 01-HostName.yml
---

- name: Configure ip address

  hosts: all


  tasks:


    - name: Write the ios HostName

      cisco.ios.ios_hostname:

        config:

          hostname: "{{ inventory_hostname }}"
·运行测试:
ansible-playbook 01-HostName.yml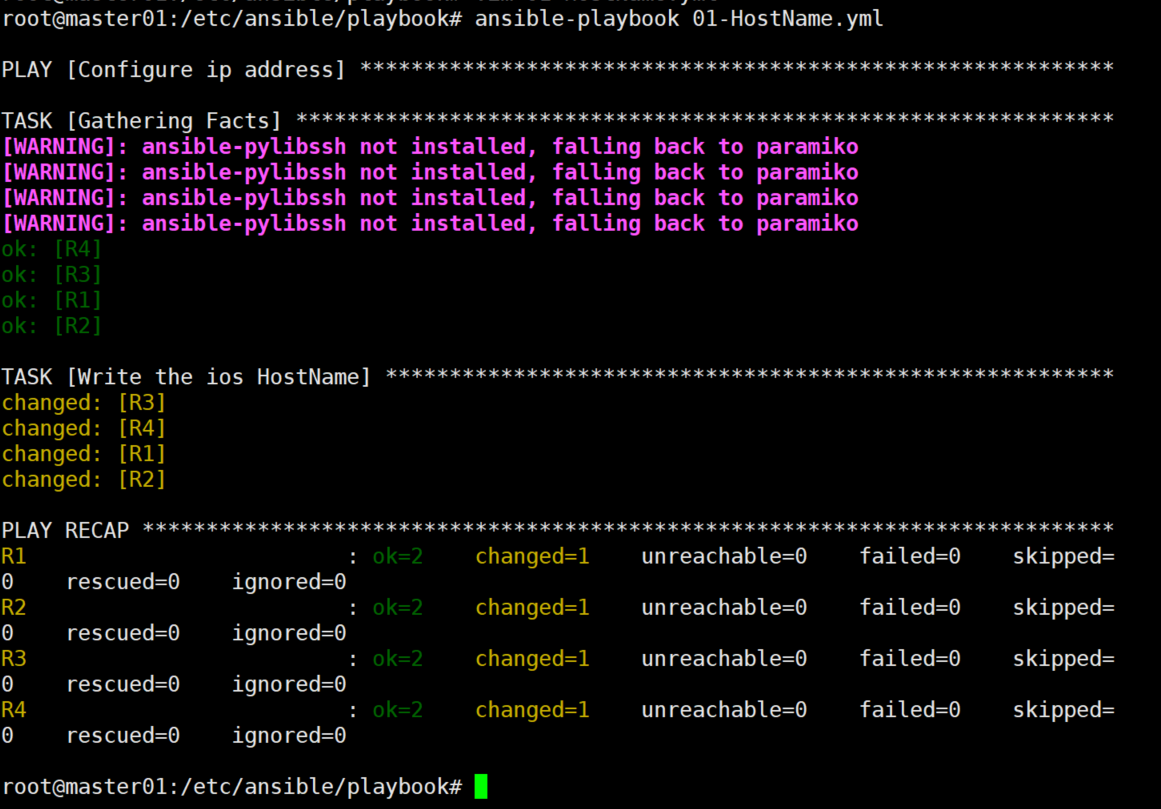
2、配置接口 ip 地址:
(1)配置 json 文件:
·IOSv:
{

 "configuration":{

   "interface":{

     "name":"GigabitEthernet0/1",

     "switchport":false,

     "ip_address":{

       "ipv4":{

         "address":"172.168.1.1",

         "netmask":"255.255.255.0"

       }

     }

   }

 }

}
·CSR1000v:
{

 "configuration":{

   "interface":{

     "name":"GigabitEthernet2",

     "switchport":false,

     "ip_address":{

       "ipv4":{

         "address":"172.168.1.3",

         "netmask":"255.255.255.0"

       }

     }

   }

 }

}
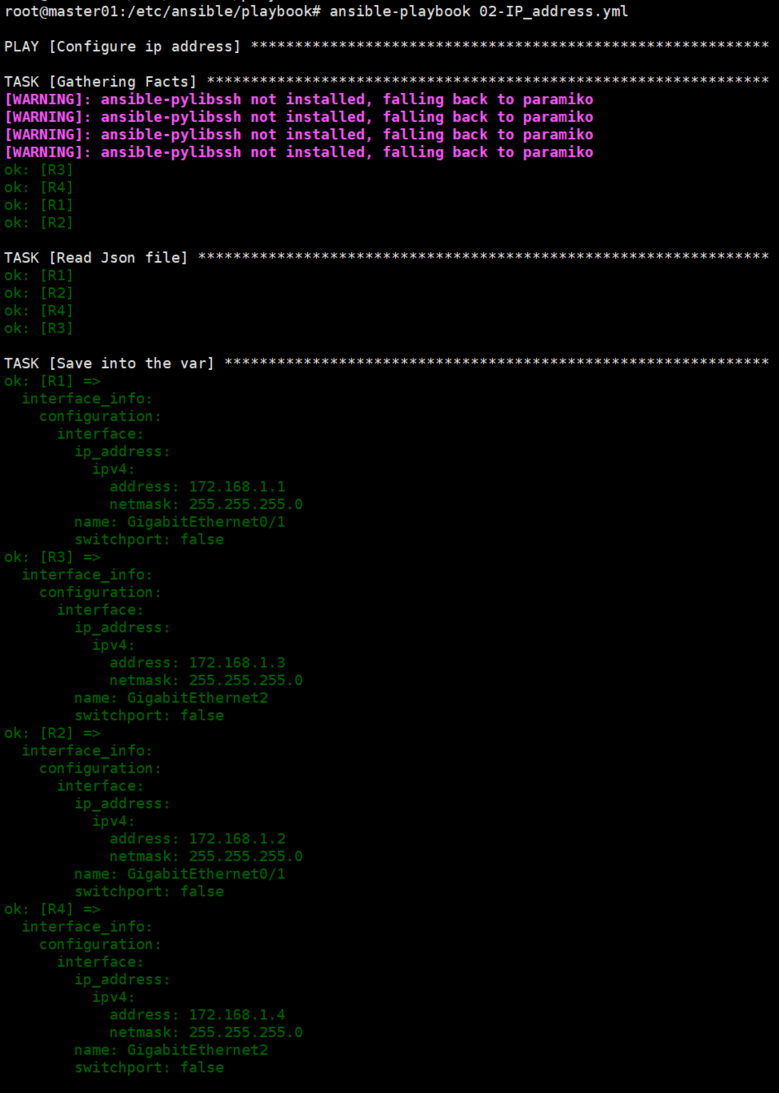
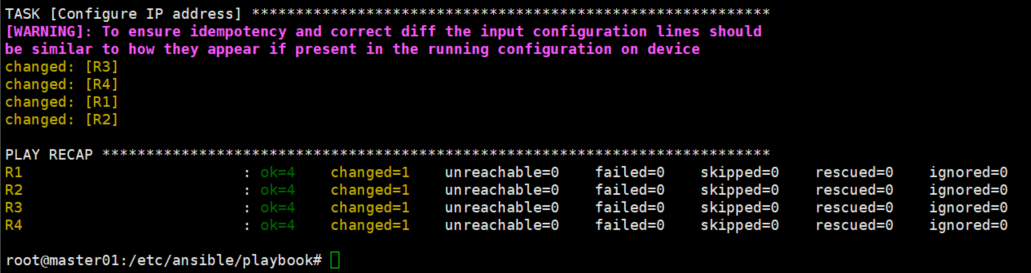
(2)编写 剧本:
---

- name: Configure ip address

  hosts: all


  tasks:

    - name: Read Json file

      include_vars:

        file: /etc/ansible/json/{{ inventory_hostname }}_interface.json

        name: interface_info


    - name: Save into the var

      debug:

        var: interface_info


    - name: Configure IP address

      cisco.ios.ios_config:

        lines:

          - no shutdown

          - ip add {{ interface_info.configuration.interface.ip_address.ipv4.address }} {{ interface_info.configuration.interface.ip_address.ipv4.netmask }}

        parents: interface {{ interface_info.configuration.interface.name }}
·运行测试:
4、读取 xml 格式文件:
apt install -y python3-lxml(1)编写 xml 文件:
- IOSv:
1.
<configuration>

  <interface>

    <name>GigabitEthernet0/1</name>

    <switchport>false</switchport>

    <ip_address>

      <ipv4>

        <address>172.168.1.11</address>

	<netmask>255.255.255.0</netmask>

      </ipv4>

    </ip_address>

  </interface>

</configuration>
- CSR1000v:
1.
<configuration>

  <interface>

    <name>GigabitEthernet3</name>

    <switchport>false</switchport>

    <ip_address>

      <ipv4>

        <address>172.168.10.13</address>

	<netmask>255.255.255.0</netmask>

      </ipv4>

    </ip_address>

  </interface>

</configuration>
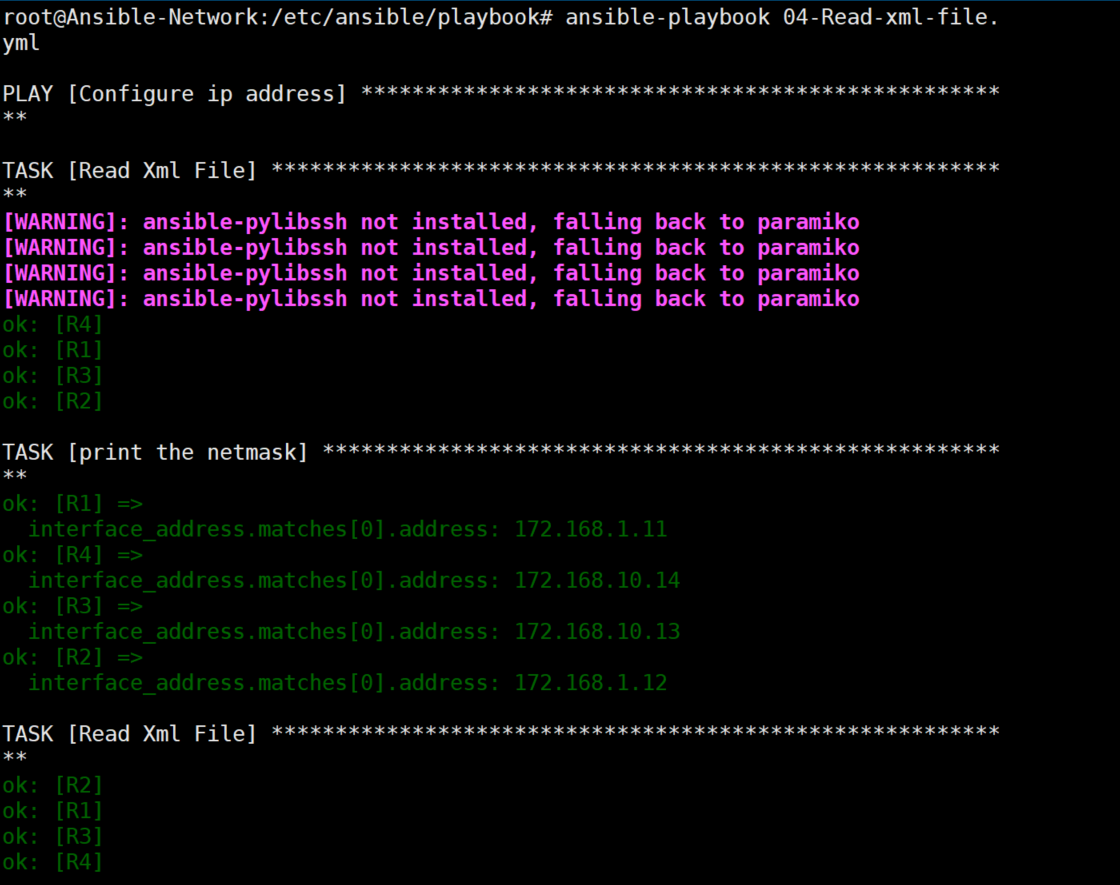
(2)编写剧本:
---

- name: Configure ip address

  hosts: all

  gather_facts: False


  tasks:

    - name: Read Xml File

      xml:

        path: /etc/ansible/xml/{{ inventory_hostname  }}_interface.xml

        xpath: /configuration/interface/ip_address/ipv4/address    # 读取 address

        content: text

      register: interface_address

    - name: print the netmask

      debug:

        var: interface_address.matches[0].address


    - name: Read Xml File

      xml:

        path: /etc/ansible/xml/{{ inventory_hostname  }}_interface.xml

        xpath: /configuration/interface/ip_address/ipv4/netmask    # 读取 network

        content: text

      register: interface_netmask

    - name: print the netmask

      debug:

        var: interface_netmask.matches[0].netmask


    - name: Read Xml File

      xml:

        path: /etc/ansible/xml/{{ inventory_hostname  }}_interface.xml

        xpath: /configuration/interface/name    # 读取 name(接口名称)

        content: text

      register: interface_name

    - name: print the netmask

      debug:

        var: interface_name.matches[0].name


    - name: Configure IP address

      cisco.ios.ios_config:

        lines:

          - no shutdown

          - ip address {{ interface_address.matches[0].address }} {{ interface_netmask.matches[0].netmask }}

        parents: interface {{ interface_name.matches[0].name }}
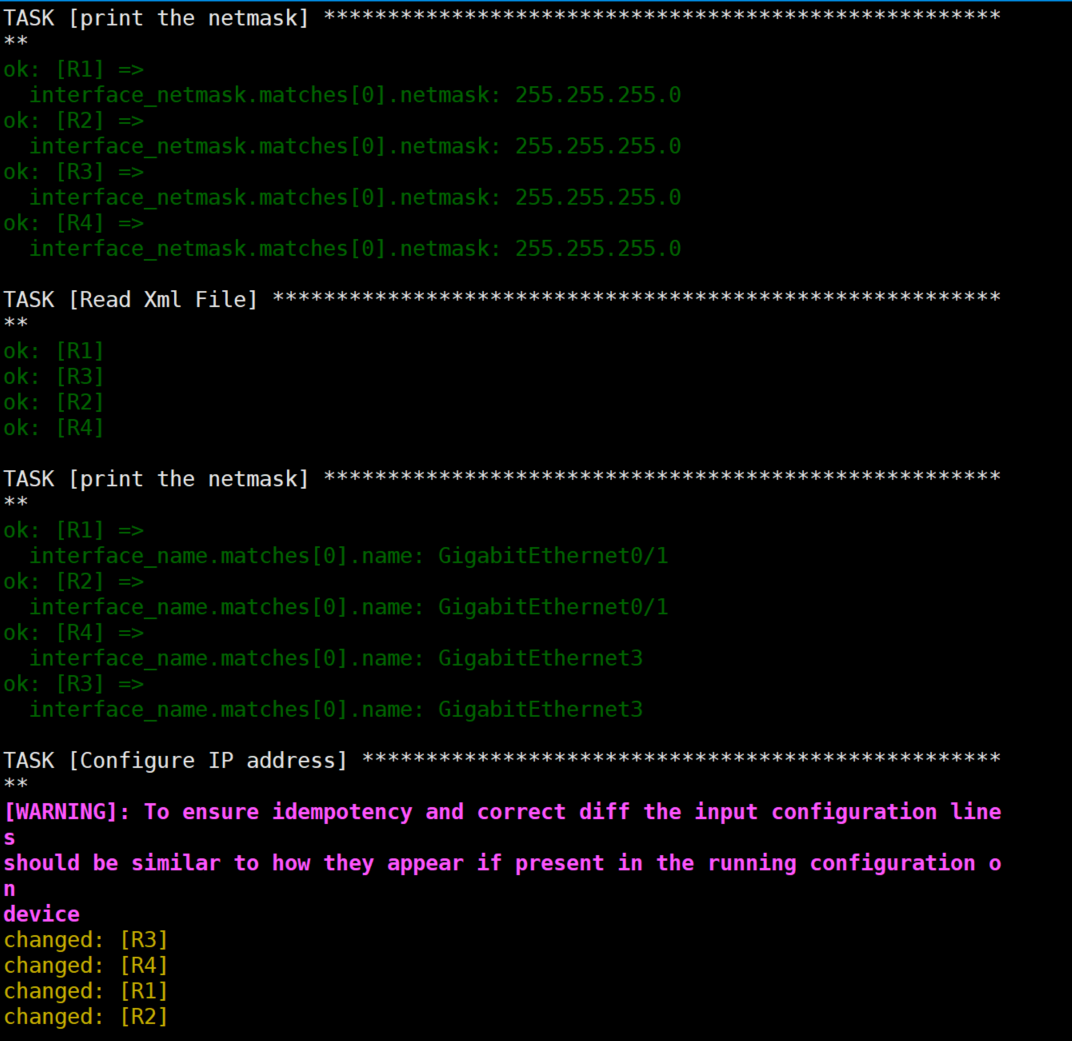
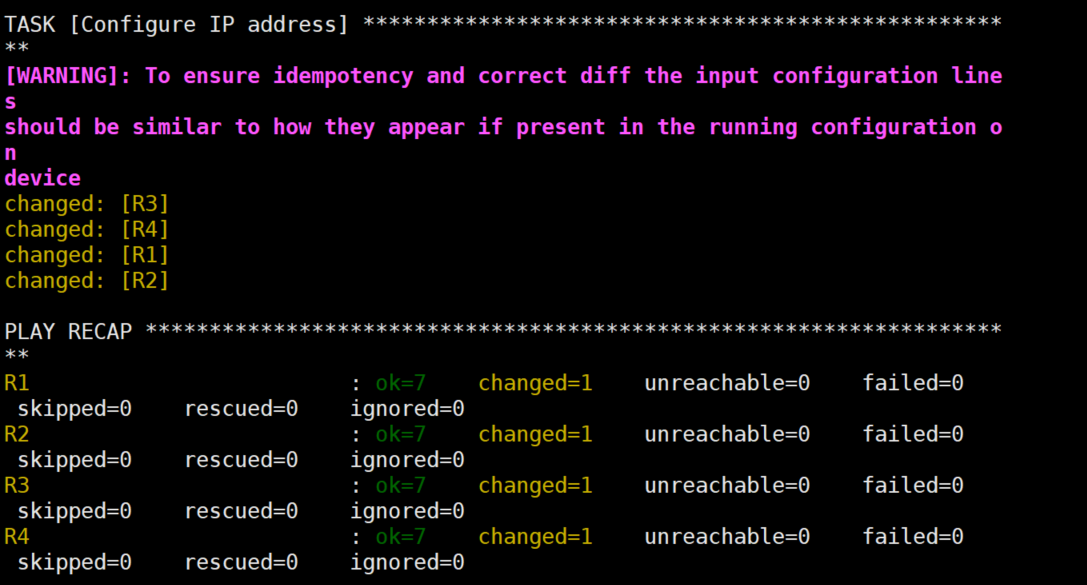
- 运行测试:
1.
5、读取列表数据:
(1)json文件:
{

 "configuration":{

   "interface":[

	   {

     "name":"GigabitEthernet0/1",

     "switchport":false,

     "ip_address":{

       "ipv4":{

         "address":"172.168.1.1",

         "netmask":"255.255.255.0"

       }

     }

   },

   {

     "name":"GigabitEthernet0/2",

     "switchport":false,

     "ip_address":{

       "ipv4":{

         "address":"172.168.10.1",

         "netmask":"255.255.255.0"

       }

     }

    }

   ]

 }

}
(2)编写剧本:
---

- name: Configure ip address

  hosts: all


  tasks:

    - name: Read Json file

      include_vars:

        file: /etc/ansible/json/list_{{ inventory_hostname }}.json

        name: interface_info


    - name: Save into the var(1)

      debug:

        var: interface_info.configuration.interface[0]


    - name: Configure IP address(1)

      cisco.ios.ios_config:

        lines:

          - no shutdown

          - ip add {{ interface_info.configuration.interface[0].ip_address.ipv4.address }} {{ interface_info.configuration.interface[0].ip_address.ipv4.netmask }}

        parents: interface {{ interface_info.configuration.interface[0].name }}


    - name: Save into the var(2)

      debug:

        var: interface_info.configuration.interface[1]


    - name: Configure IP address(2)

      cisco.ios.ios_config:

        lines:

          - no shutdown

          - ip add {{ interface_info.configuration.interface[1].ip_address.ipv4.address }} {{ interface_info.configuration.interface[1].ip_address.ipv4.netmask }}

        parents: interface {{ interface_info.configuration.interface[1].name }}
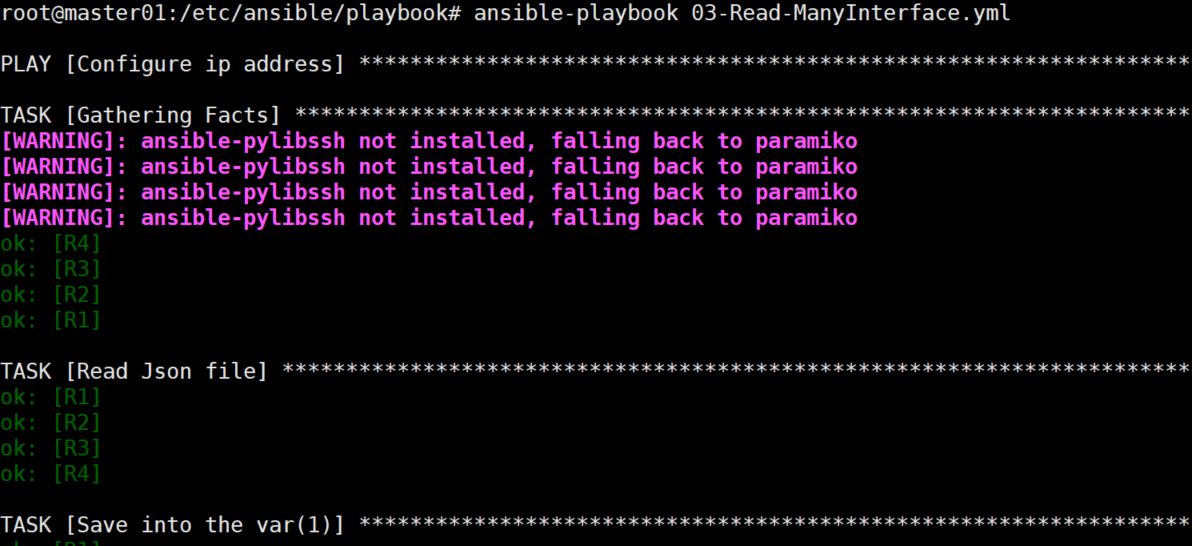
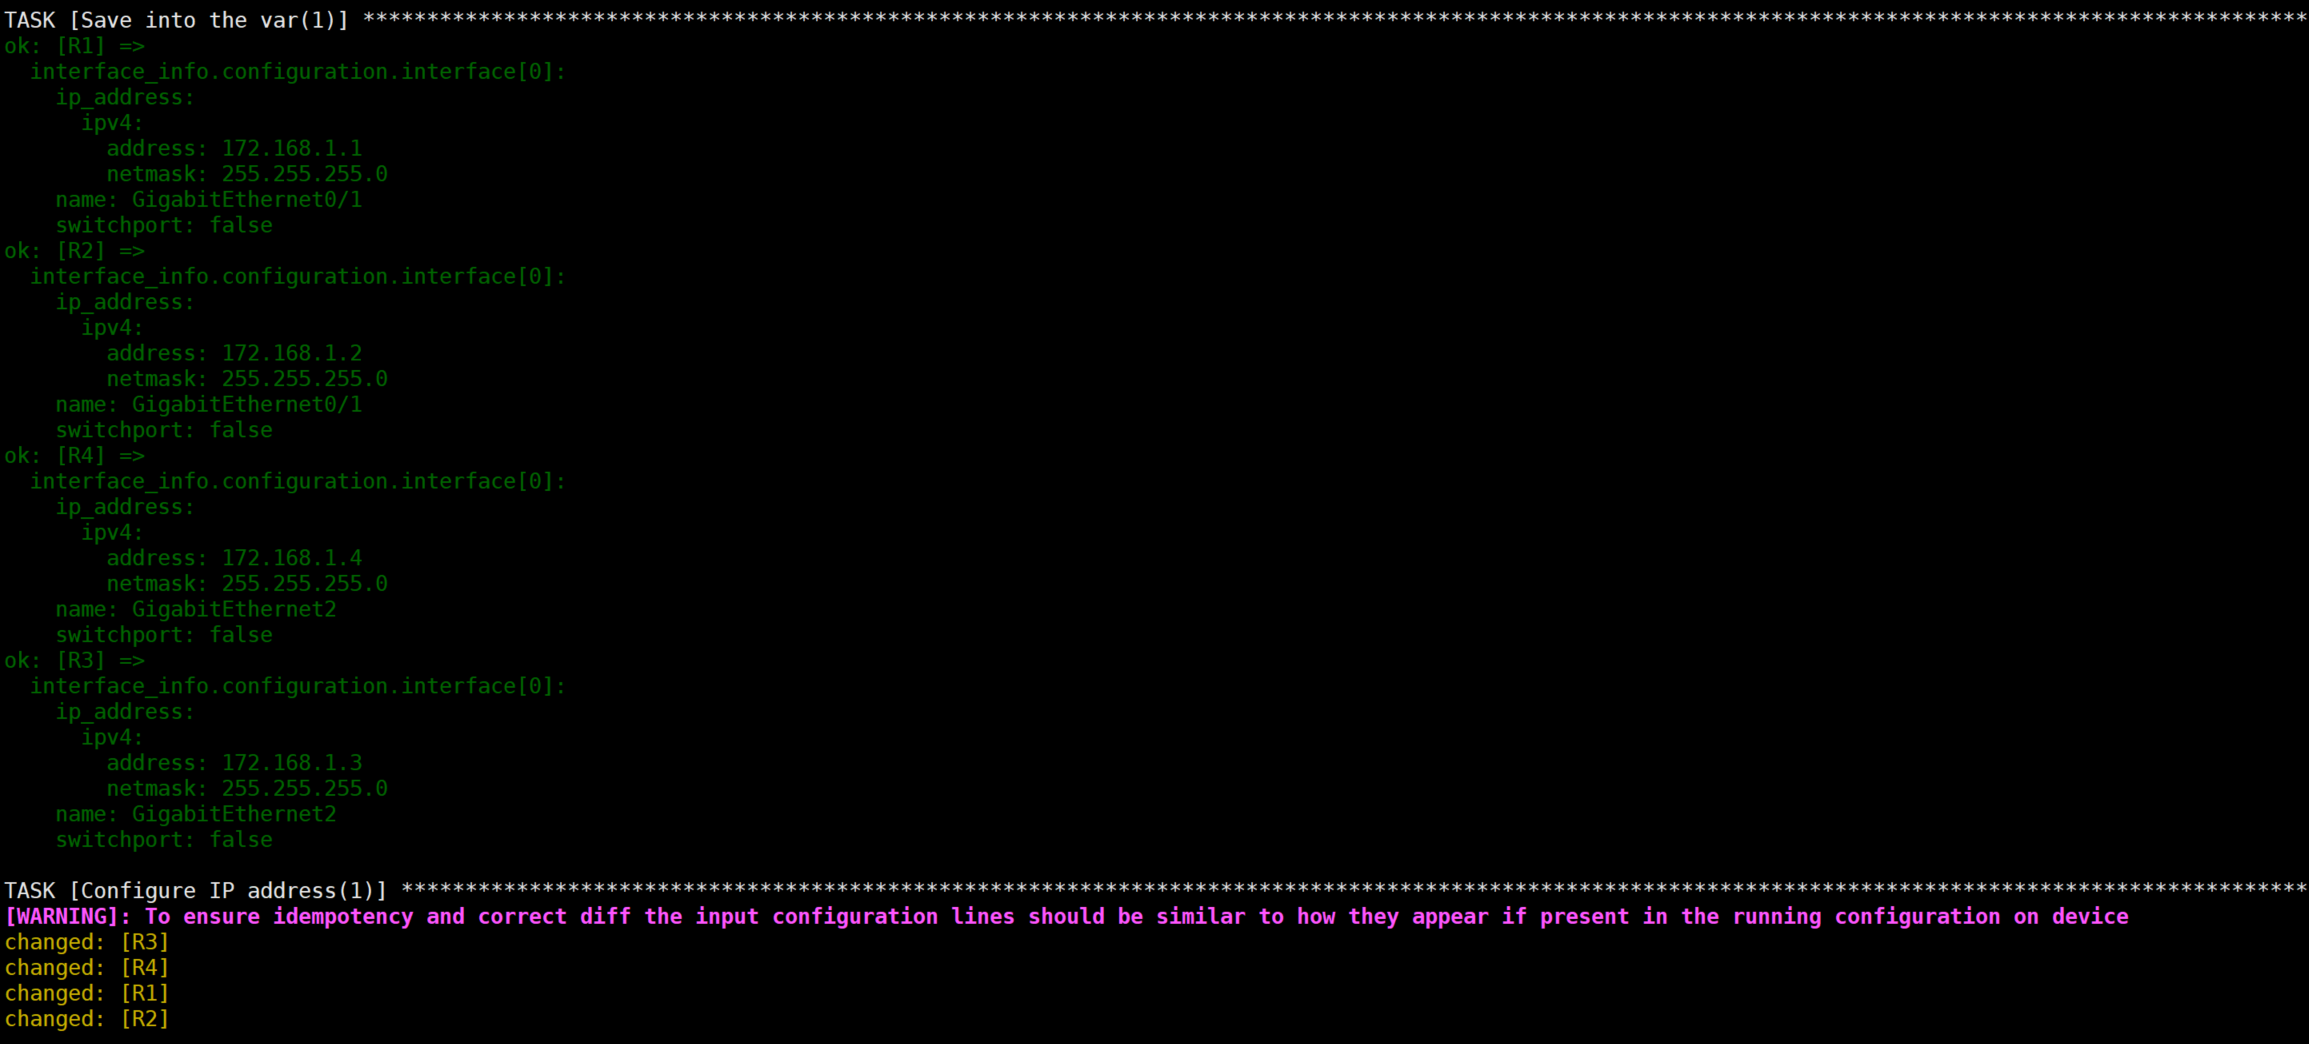
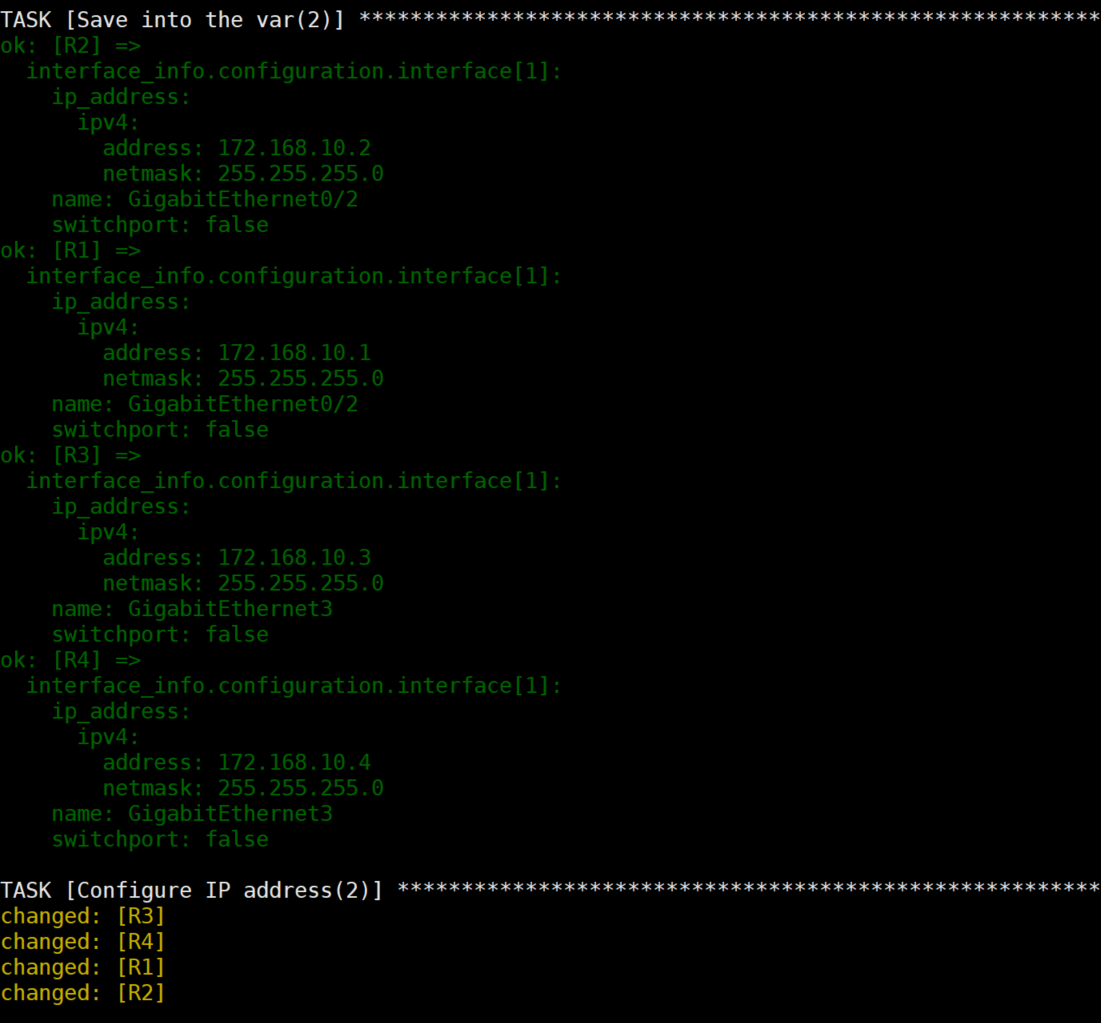
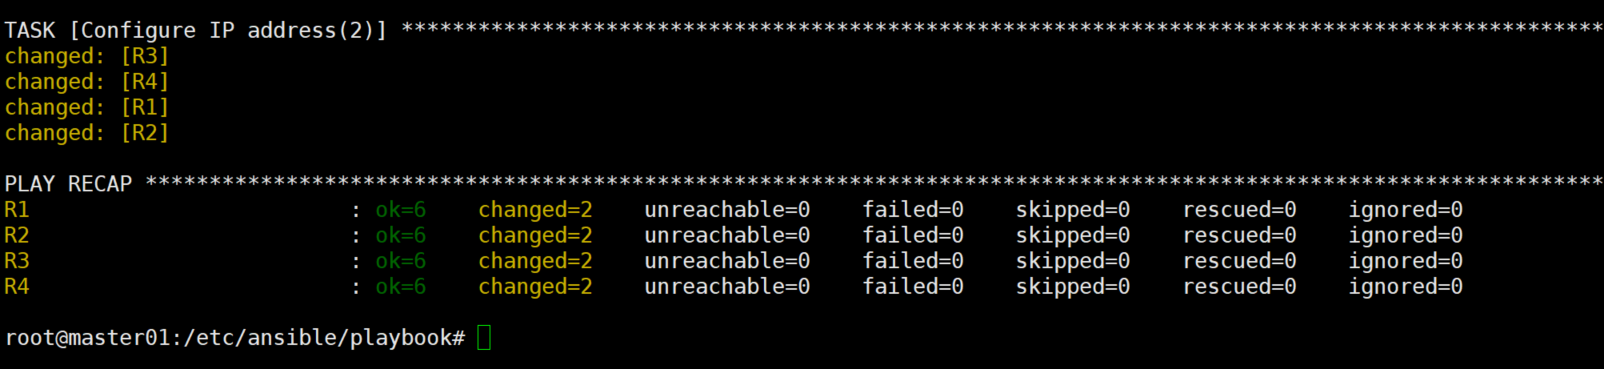
·运行测试: