Nginx 基础配置、LNMP(wordpress).note
·Nginx 默认启用了 http
一、配置 Nginx
1、安装 Nginx:
apt install -y nginx2、配置 https:
(1)配置 证书:
/usr/lib/ssl/misc/CA.pl -newca
/usr/lib/ssl/misc/CA.pl -newreq-nodes
/usr/lib/ssl/misc/CA.pl -sign
(2)配置 https站点:
vim /etc/nginx/sites-enabled/default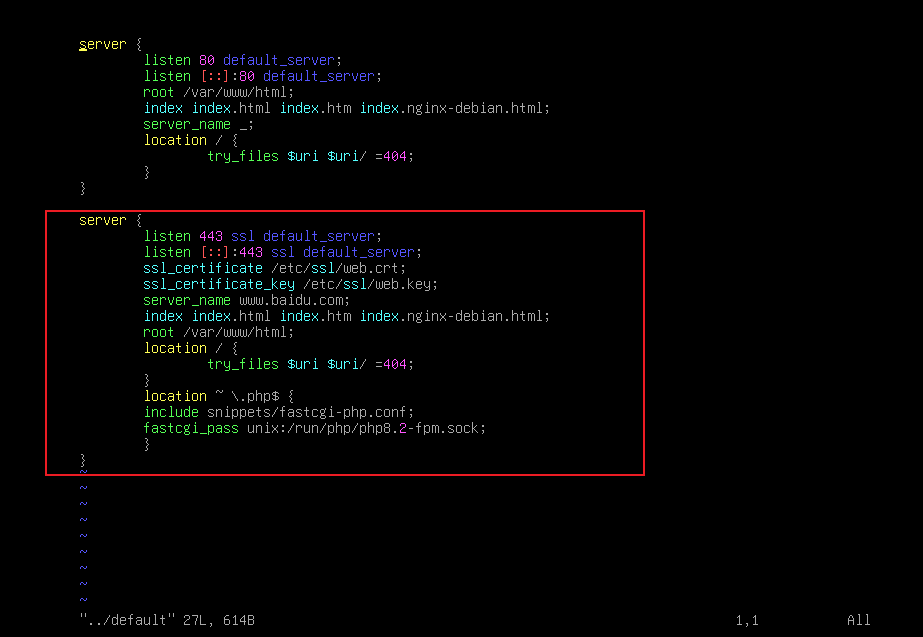
(3)可以直接将配置写在 nginx.conf 配置文件中:
nginx 的 /etc/nginx/sites-enable/ 下的配置文件,是在 nginx.conf 中 被通过 include 引入的,因此,配置文件能够直接书写在 nginx.conf 中:
mv /etc/nginx/sites-eanbled/* /root
vim /etc/nginx/nginx.conf
# 注释掉 include /etc/nginx/sites-enabled/*;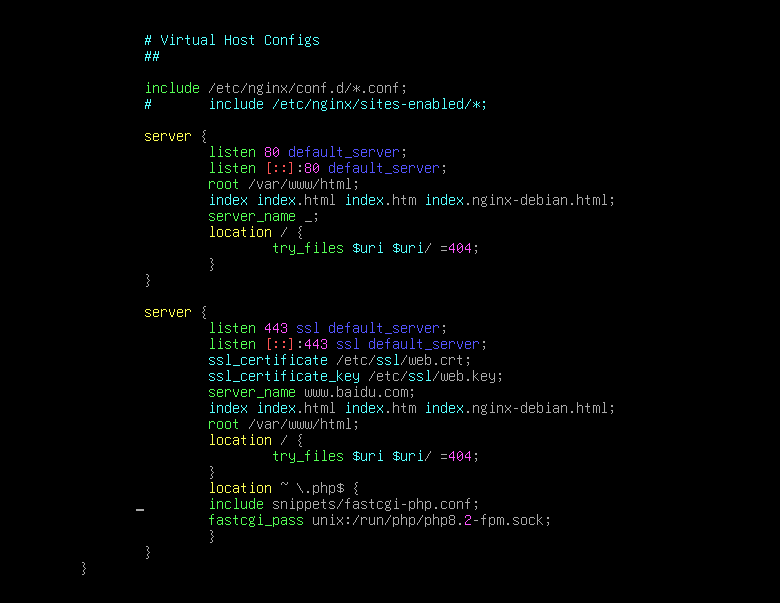
3、配置 wordpress:
(1)安装 wordpress:
apt install -y wordpress(2)将 wordpress 目录拷贝到网站根目录下:
cp -r /usr/share/wordpress /var/www/html/(3)配置 wordpress:
rm ./wordpress/wp-config.php //删除其现有配置,否则无法访问(4)编辑 nginx配置:
vim /etc/nginx/nginx.conf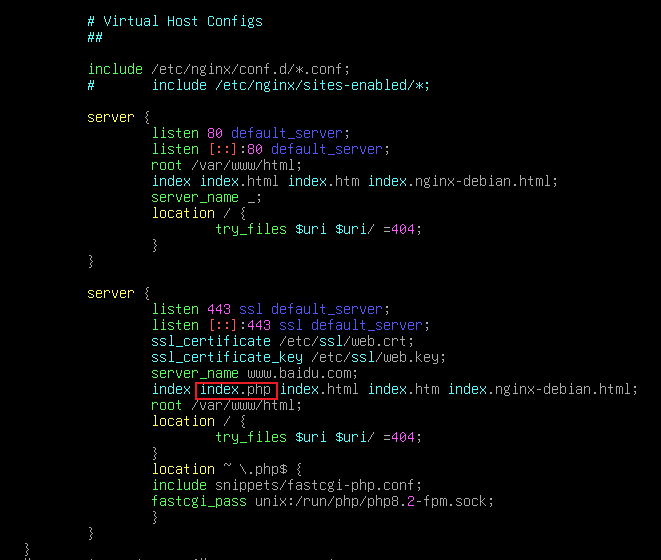
(5)配置 mysql:
apt install -y mariadb-server
mysql
create database LNMP;
grant all privileges on LNMP.* to 'admin'@'%' identified by 'Skills39';    //允许使用admin用户从任何网段连接,密码skills39
flush privileges;    //刷新权限,可选命令(也可以不敲,重启机器来刷新)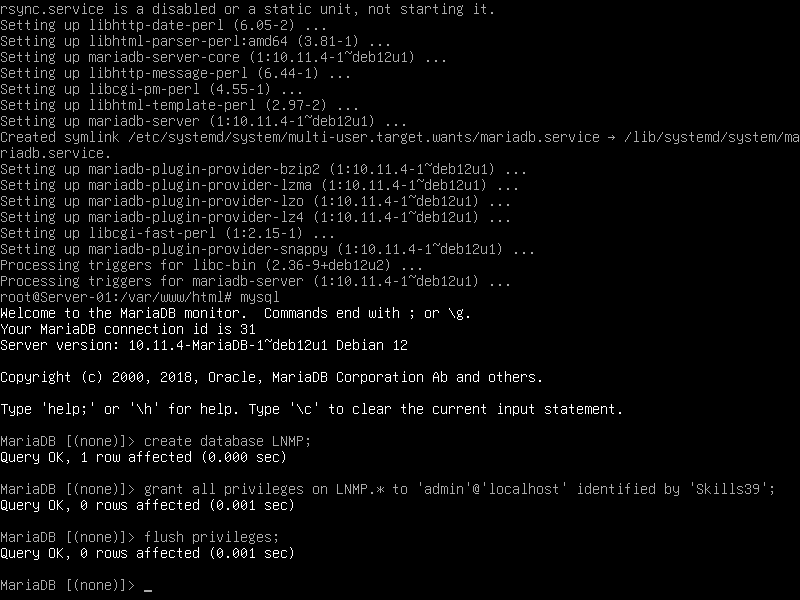
(6)编辑 其允许通过任意地址访问:
vim /etc/mysql/mariadb.conf.d/50-server.cnf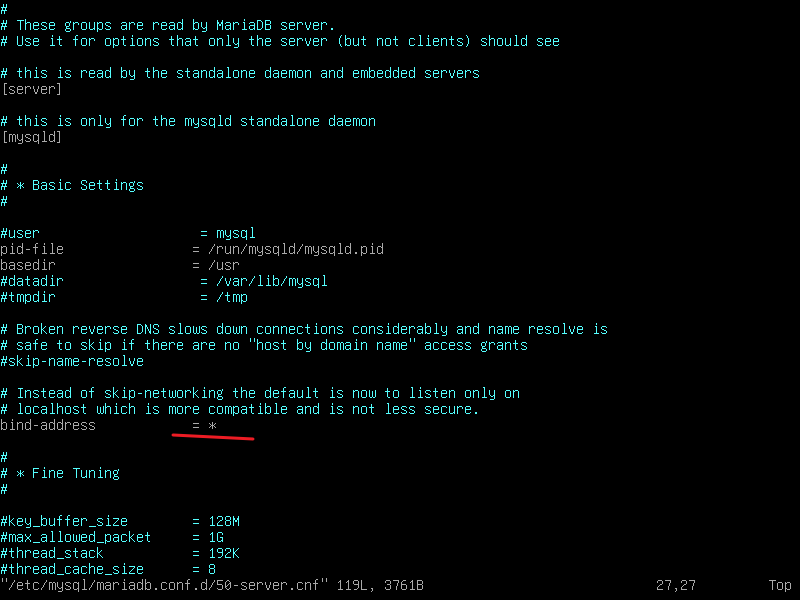
(7)给予 wordpress 目录及 网站 根目录权限:
chmod -R 777 ./wordpress
chmod -R 777 /var/www/html
(8)在客户端上访问:
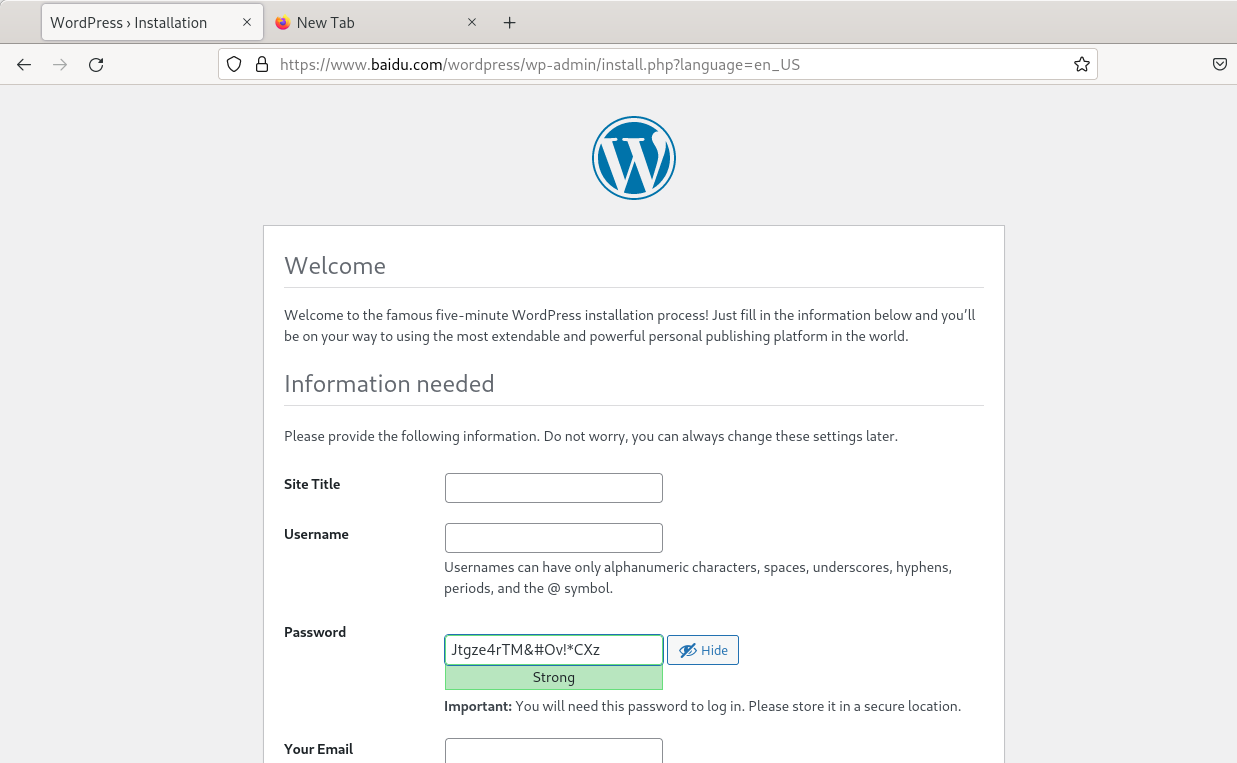
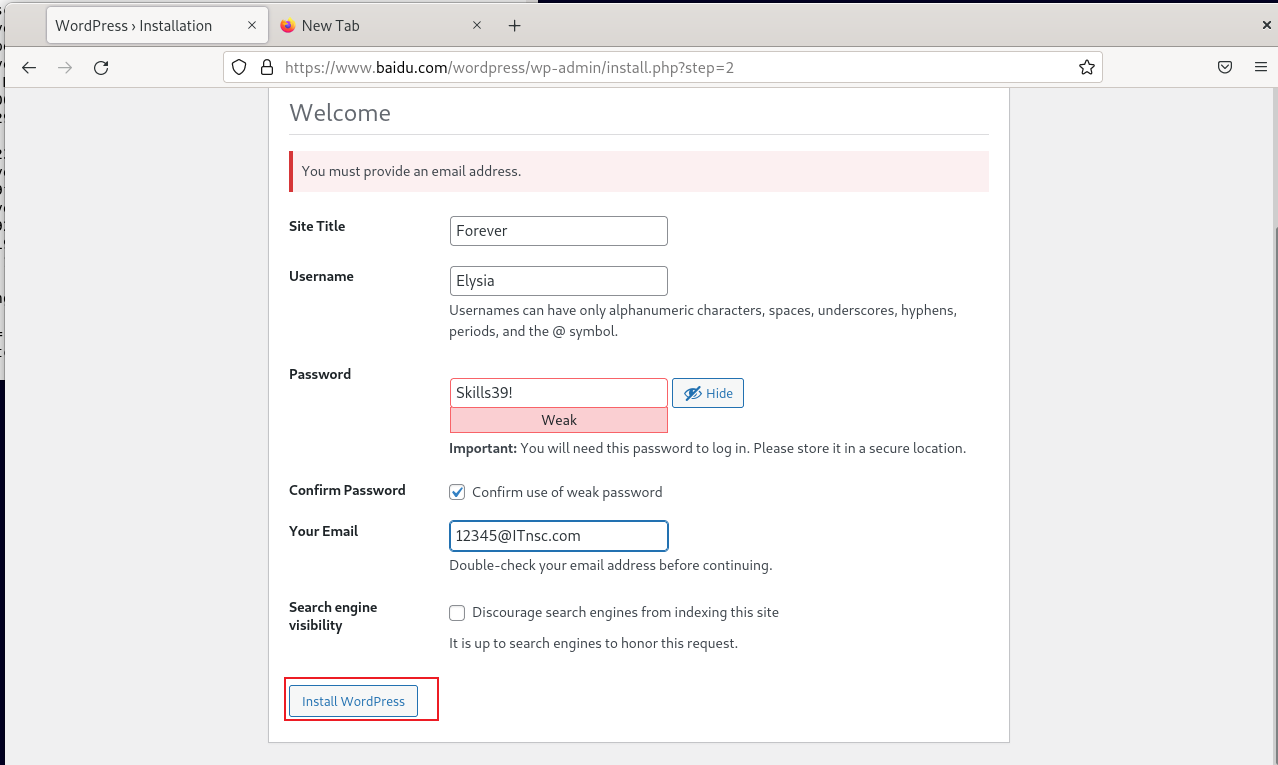
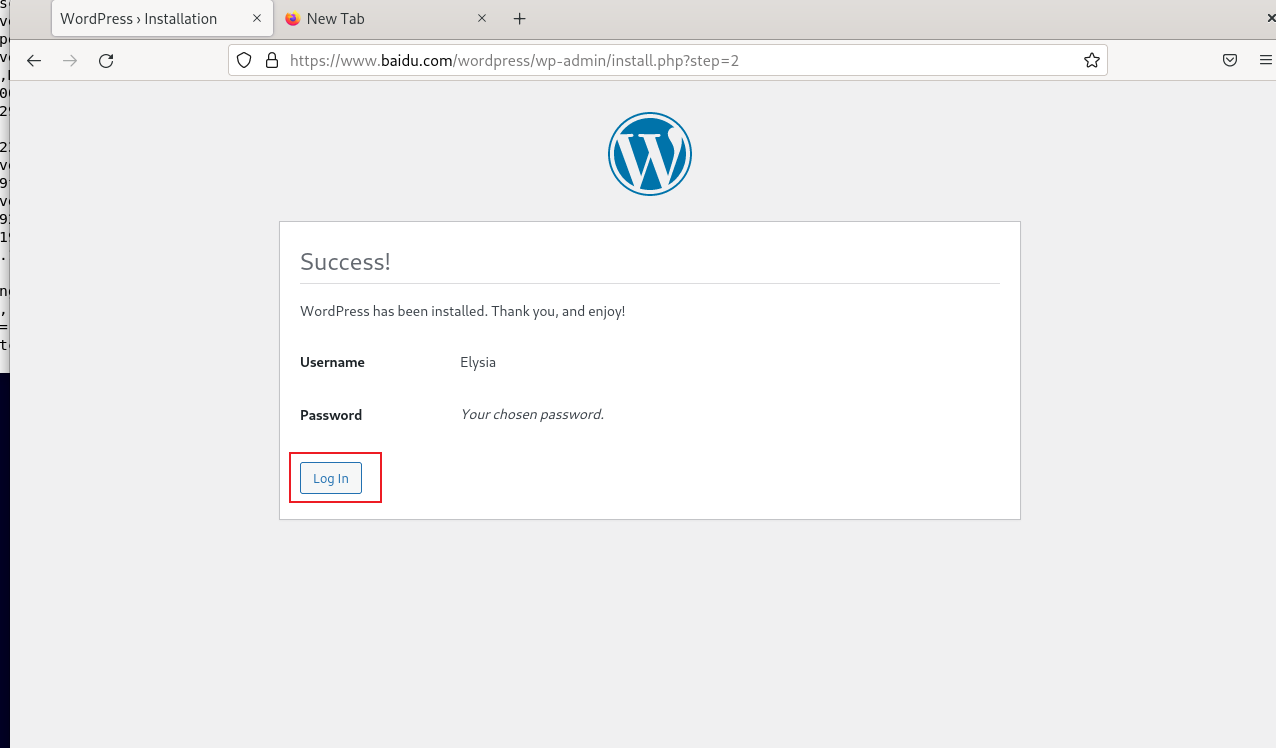
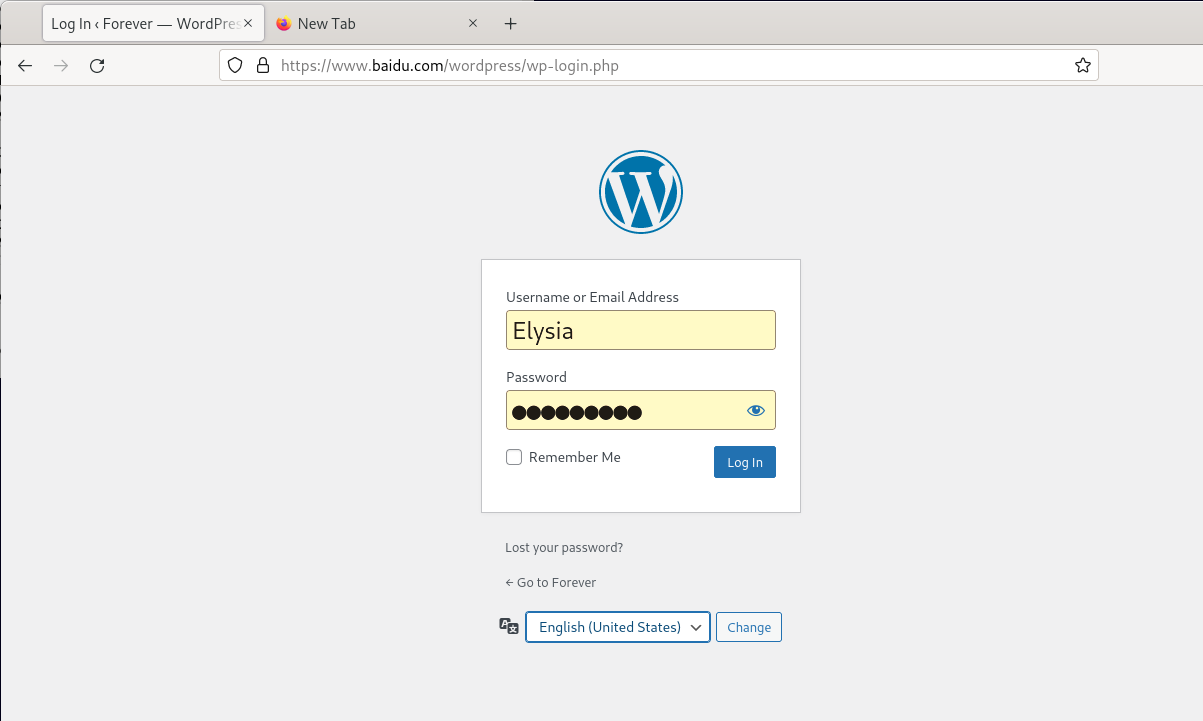
https://www.baidu.com/wordpress/index.php此时会自动跳转到:
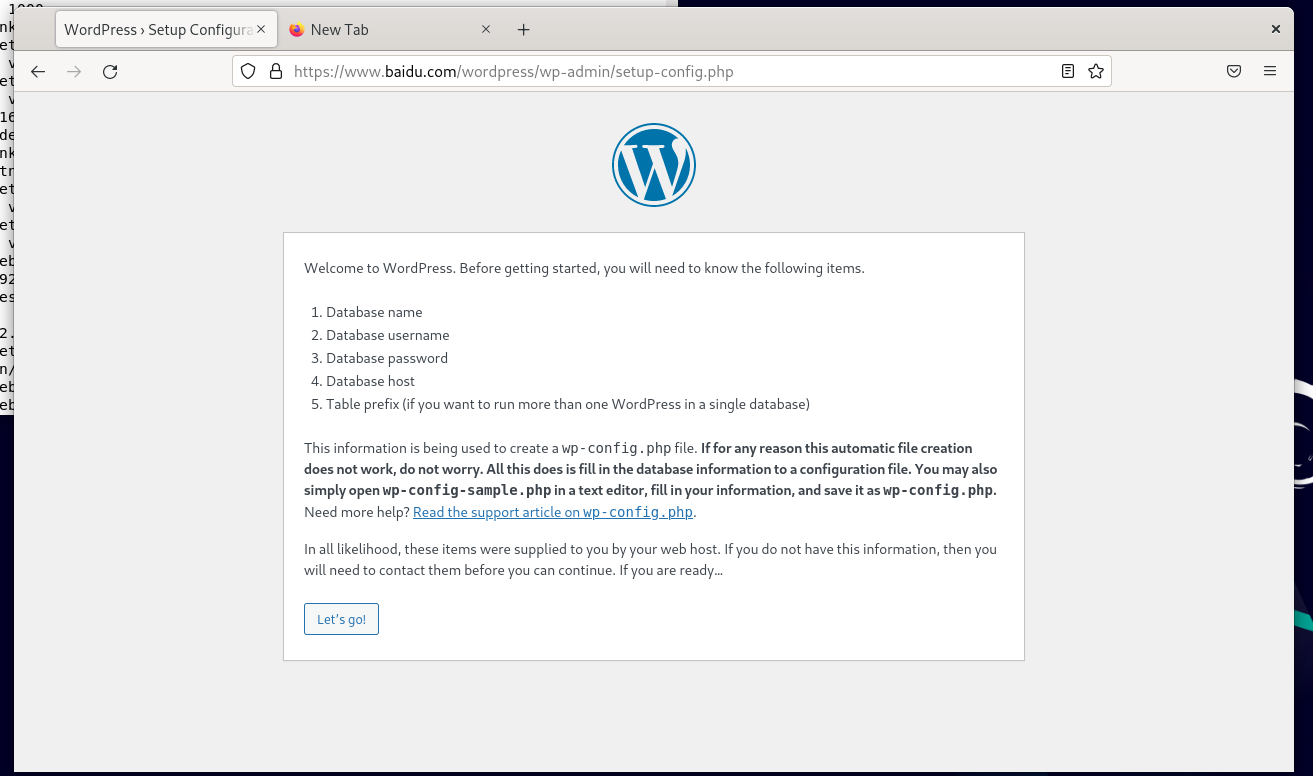
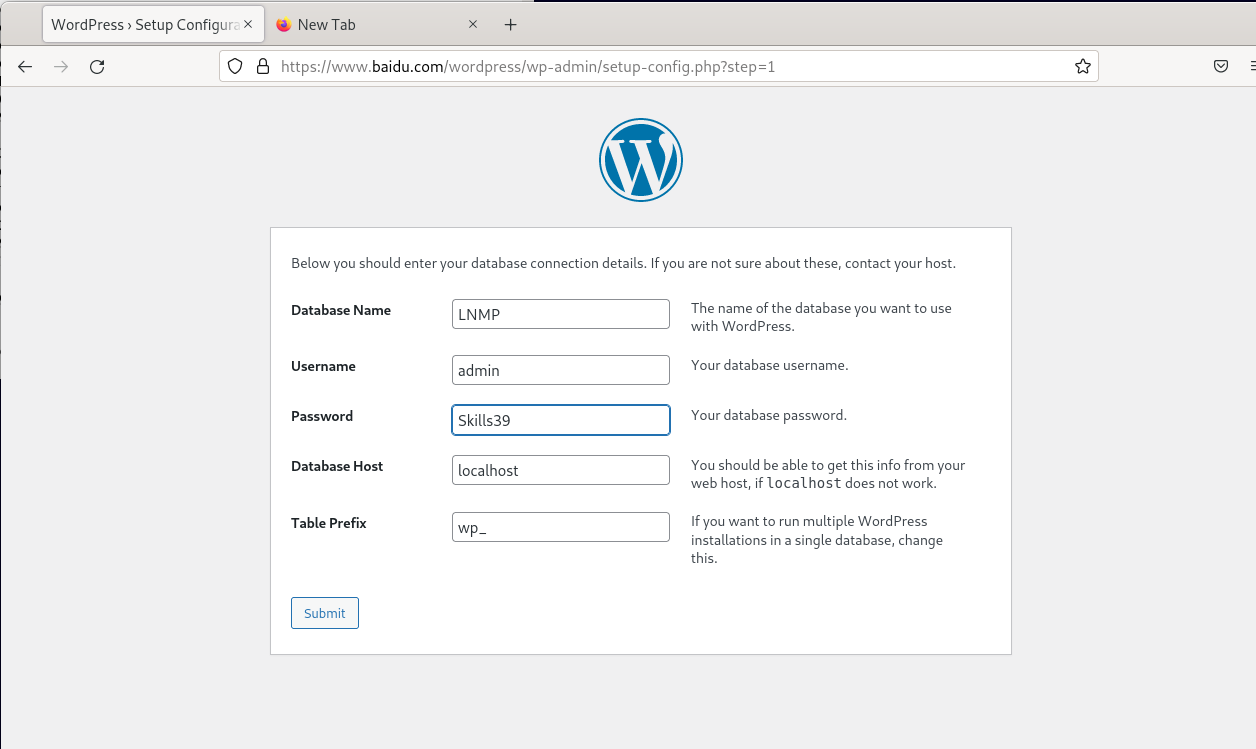
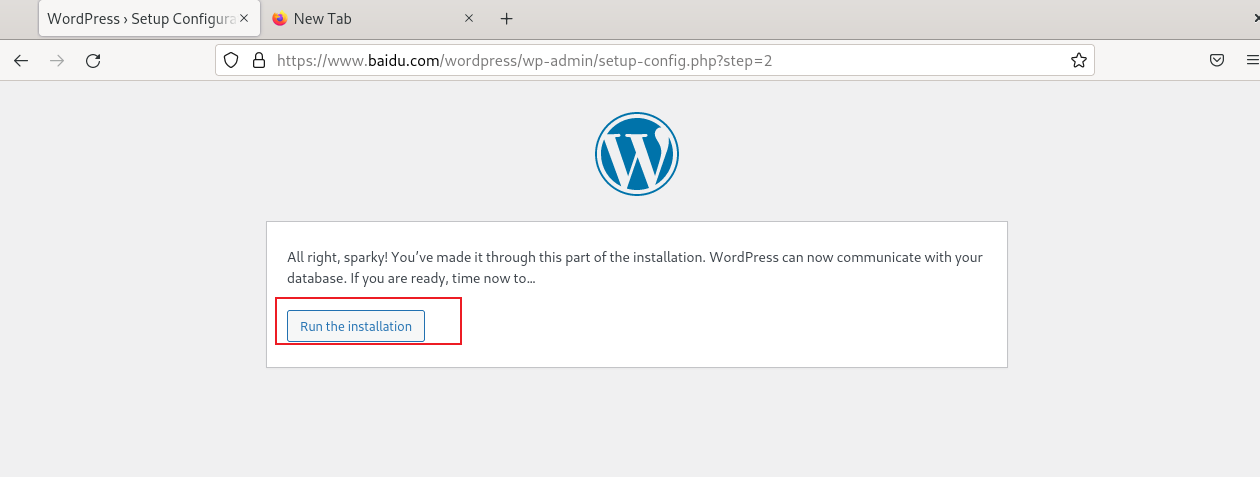
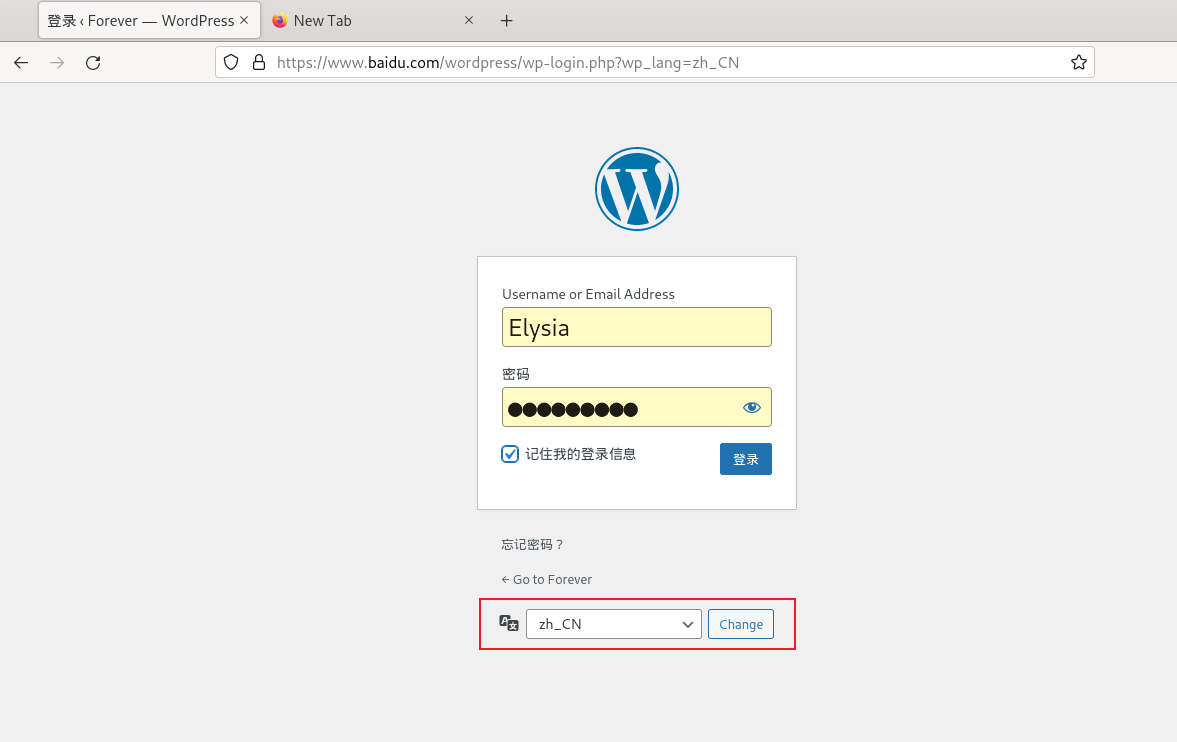
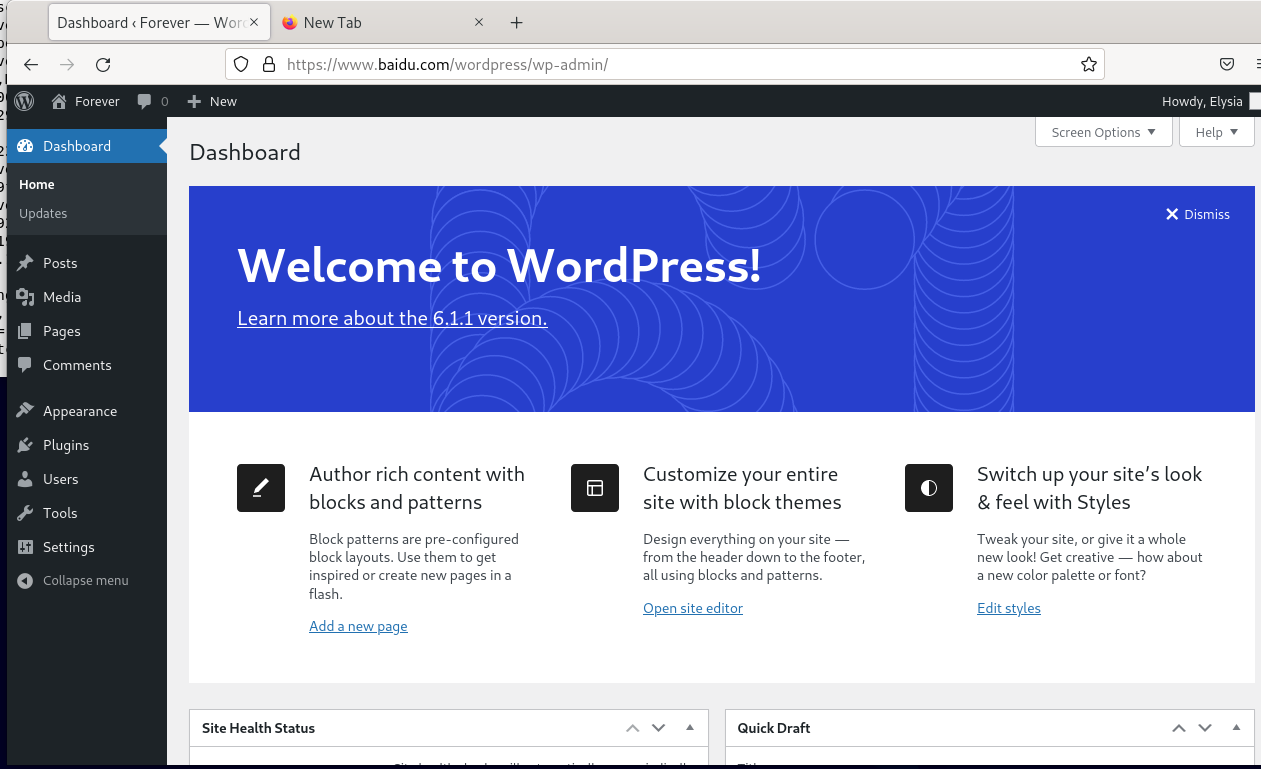
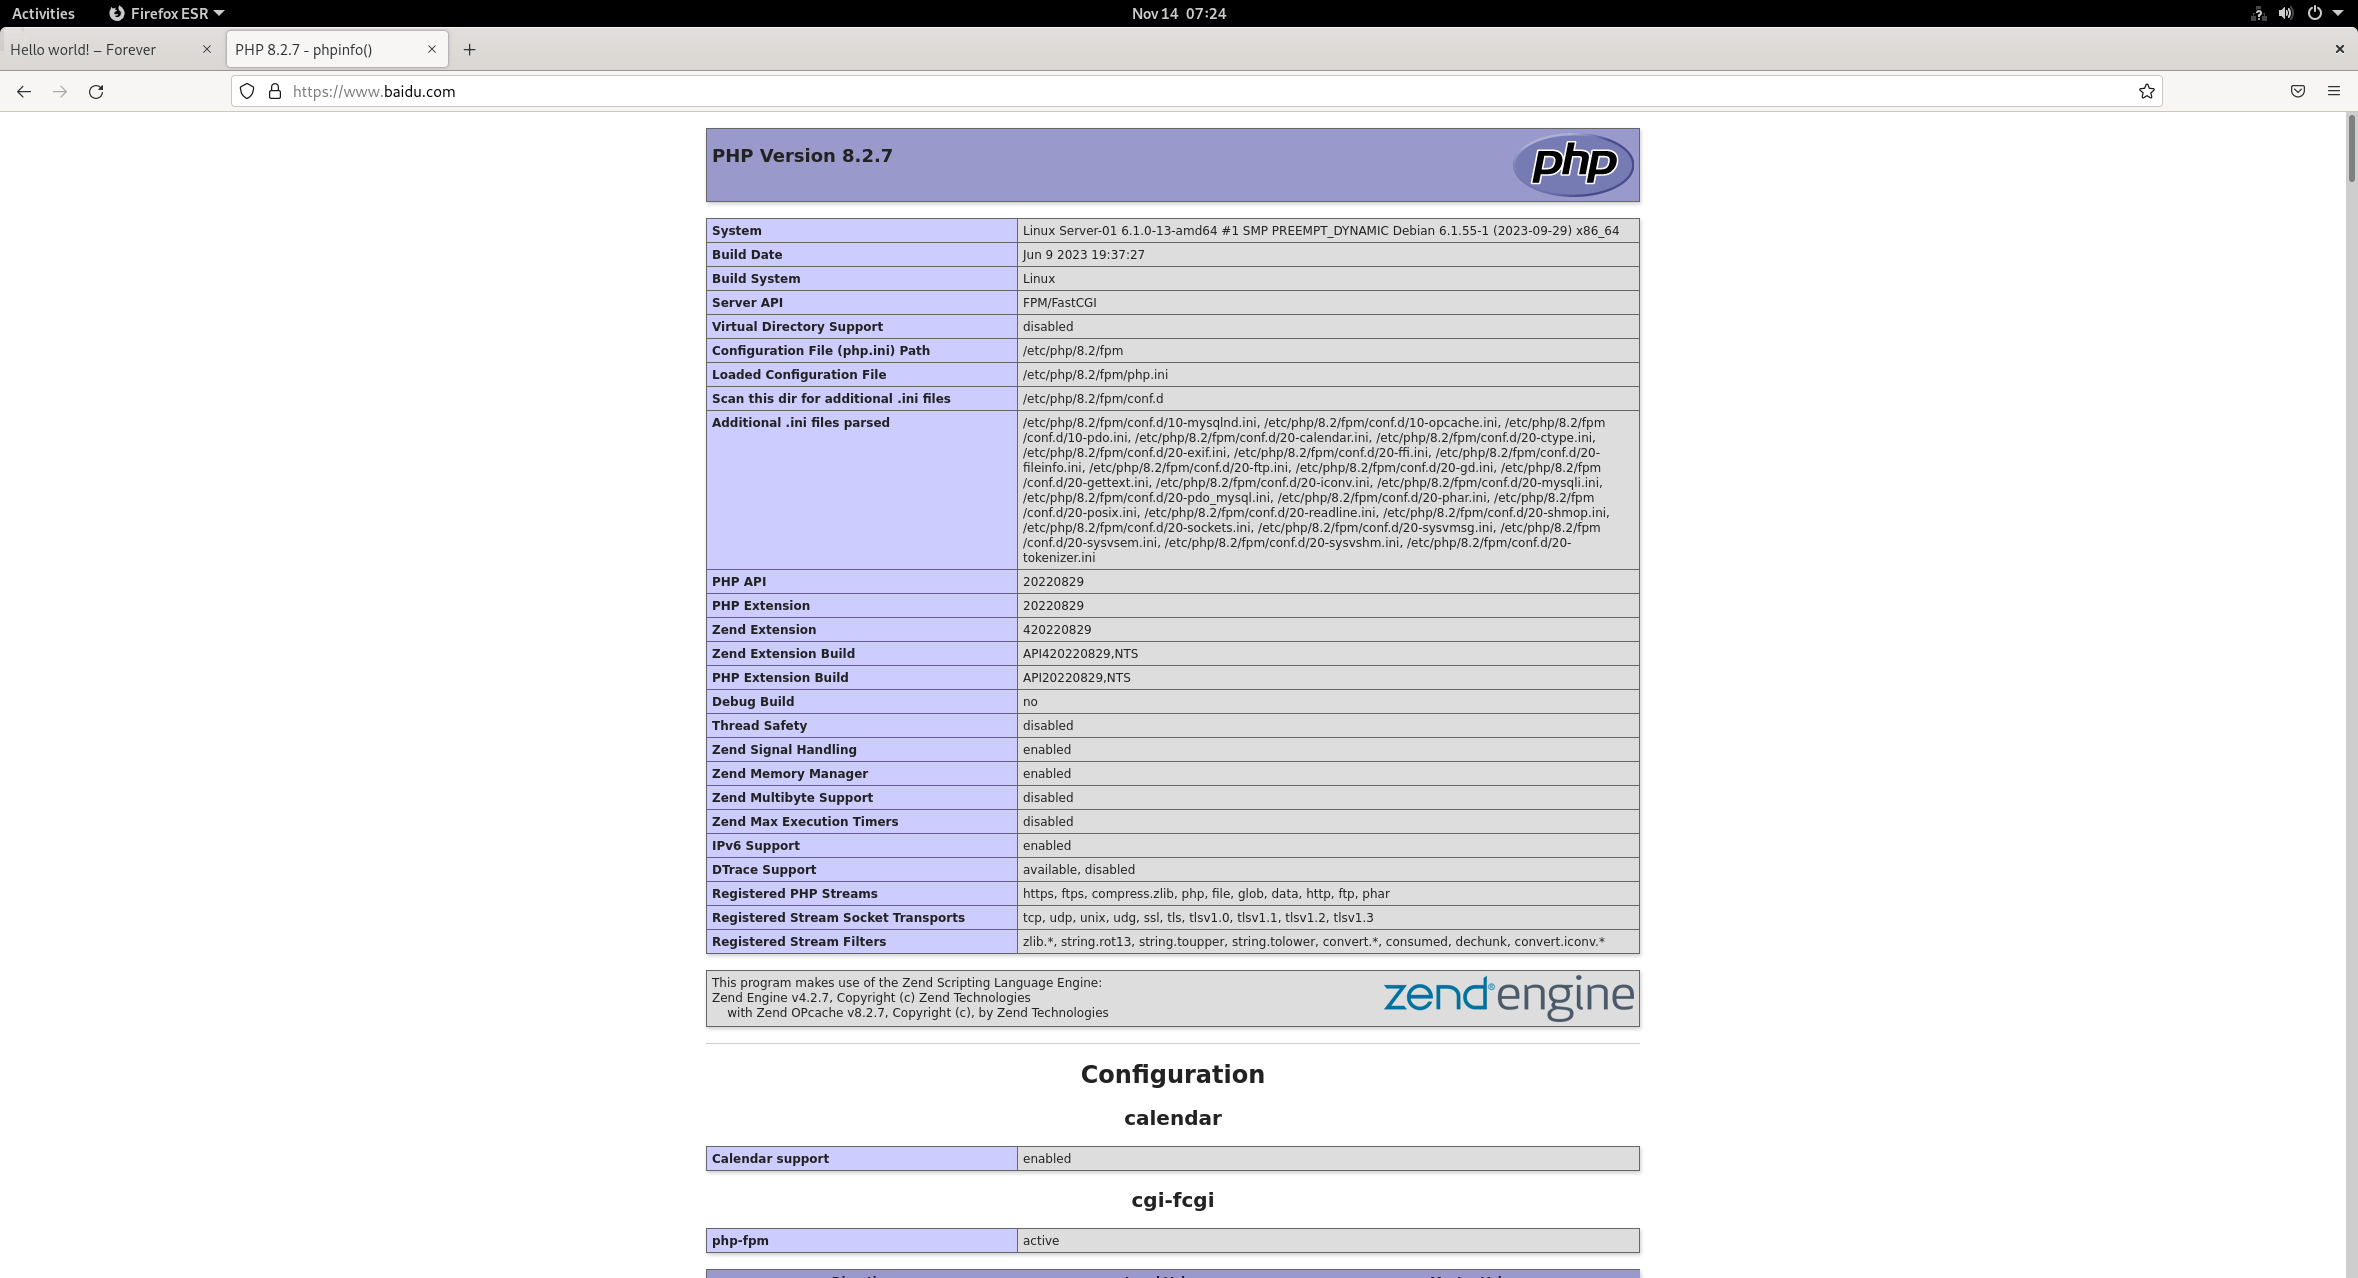
4、配置 php:
(1)配置 php:
apt install php8.2-fpm -y
echo "<?php phpinfo(); ?>" > /var/www/html/index.php
vim /etc/nginx/nginx.conf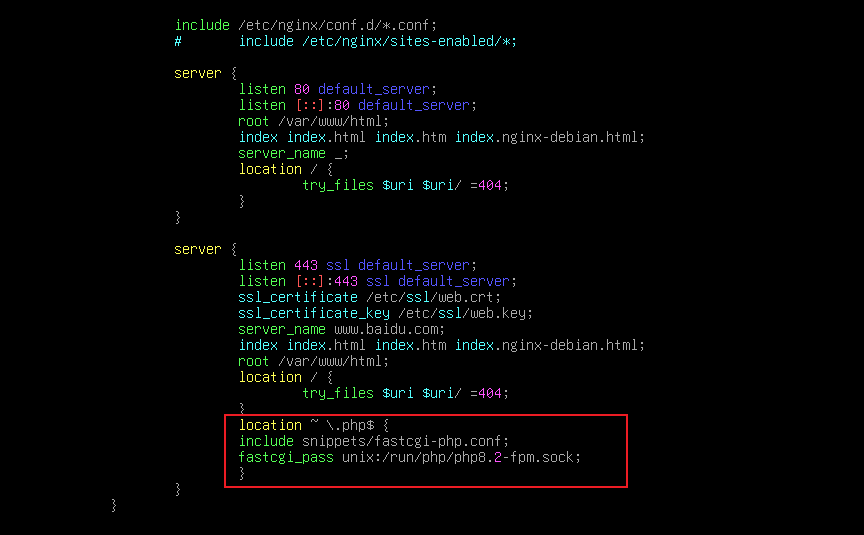
systemctl restart nginx
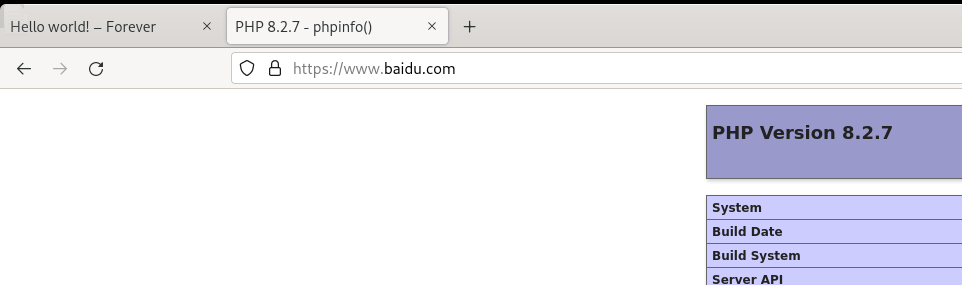
(2)在客户端上尝试访问:
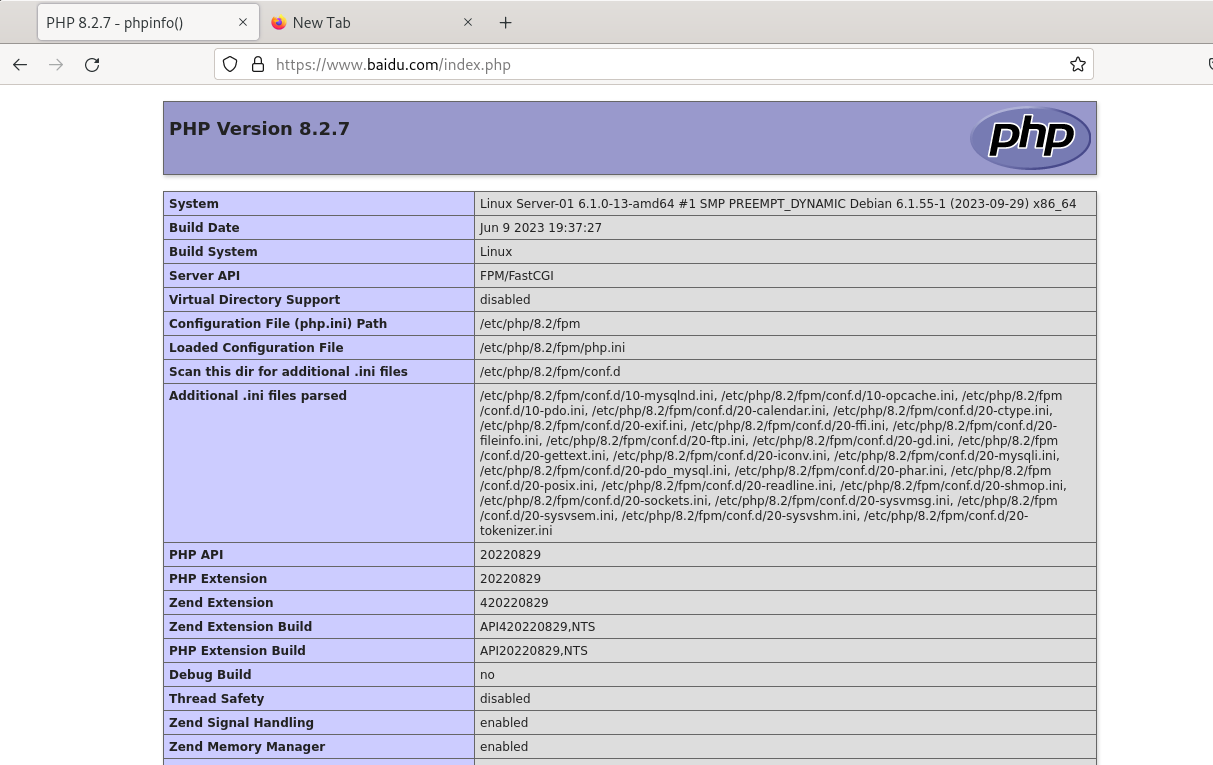
5、配置 http 重定向到 https:
vim /etc/nginx/nginx.conf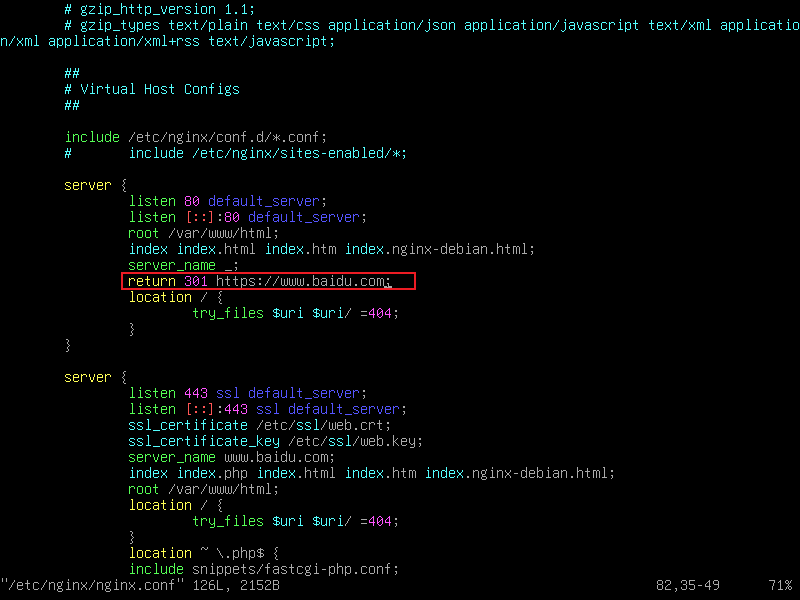
·客户端上访问:
6、拒绝三级域名,和IP地址的访问:
vim /etc/nginx/nginx.conf
# 取消原本80和443站点的default_server,新增一个server,定义默认站点,用于接收剩于未被定义的请求(其它三级域名 or IP地址)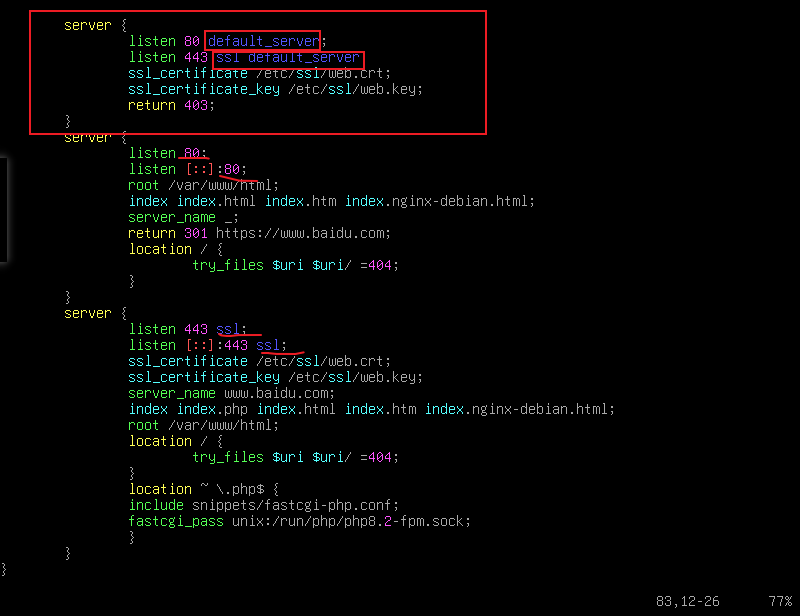
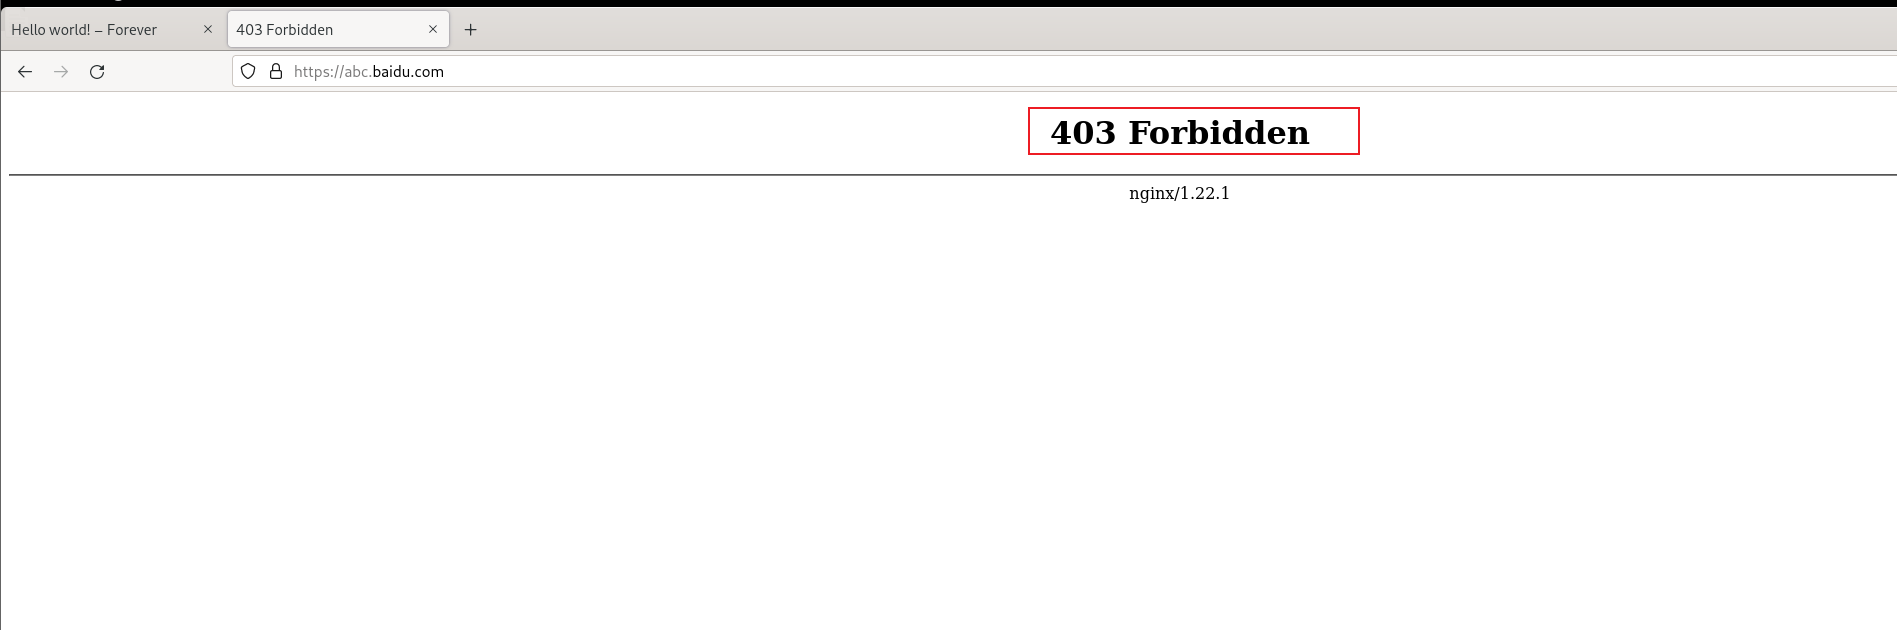
·客户端进行访问:
(1)访问三级域名:
(2)访问IP地址:
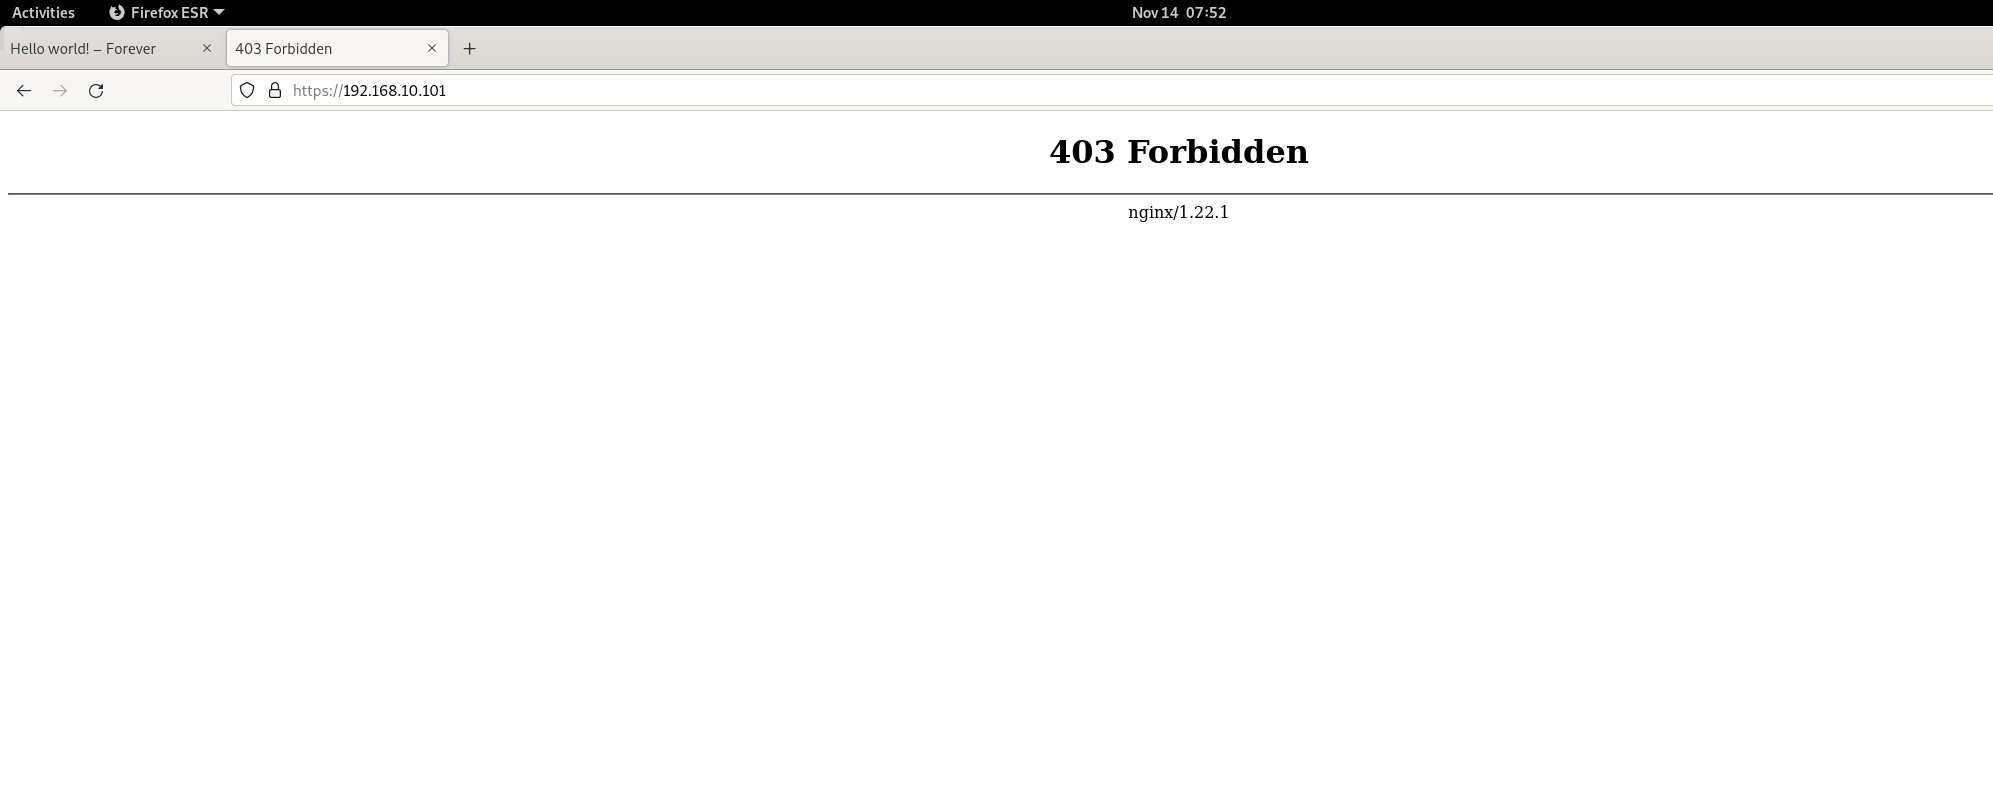
(3)访问正确的域名:
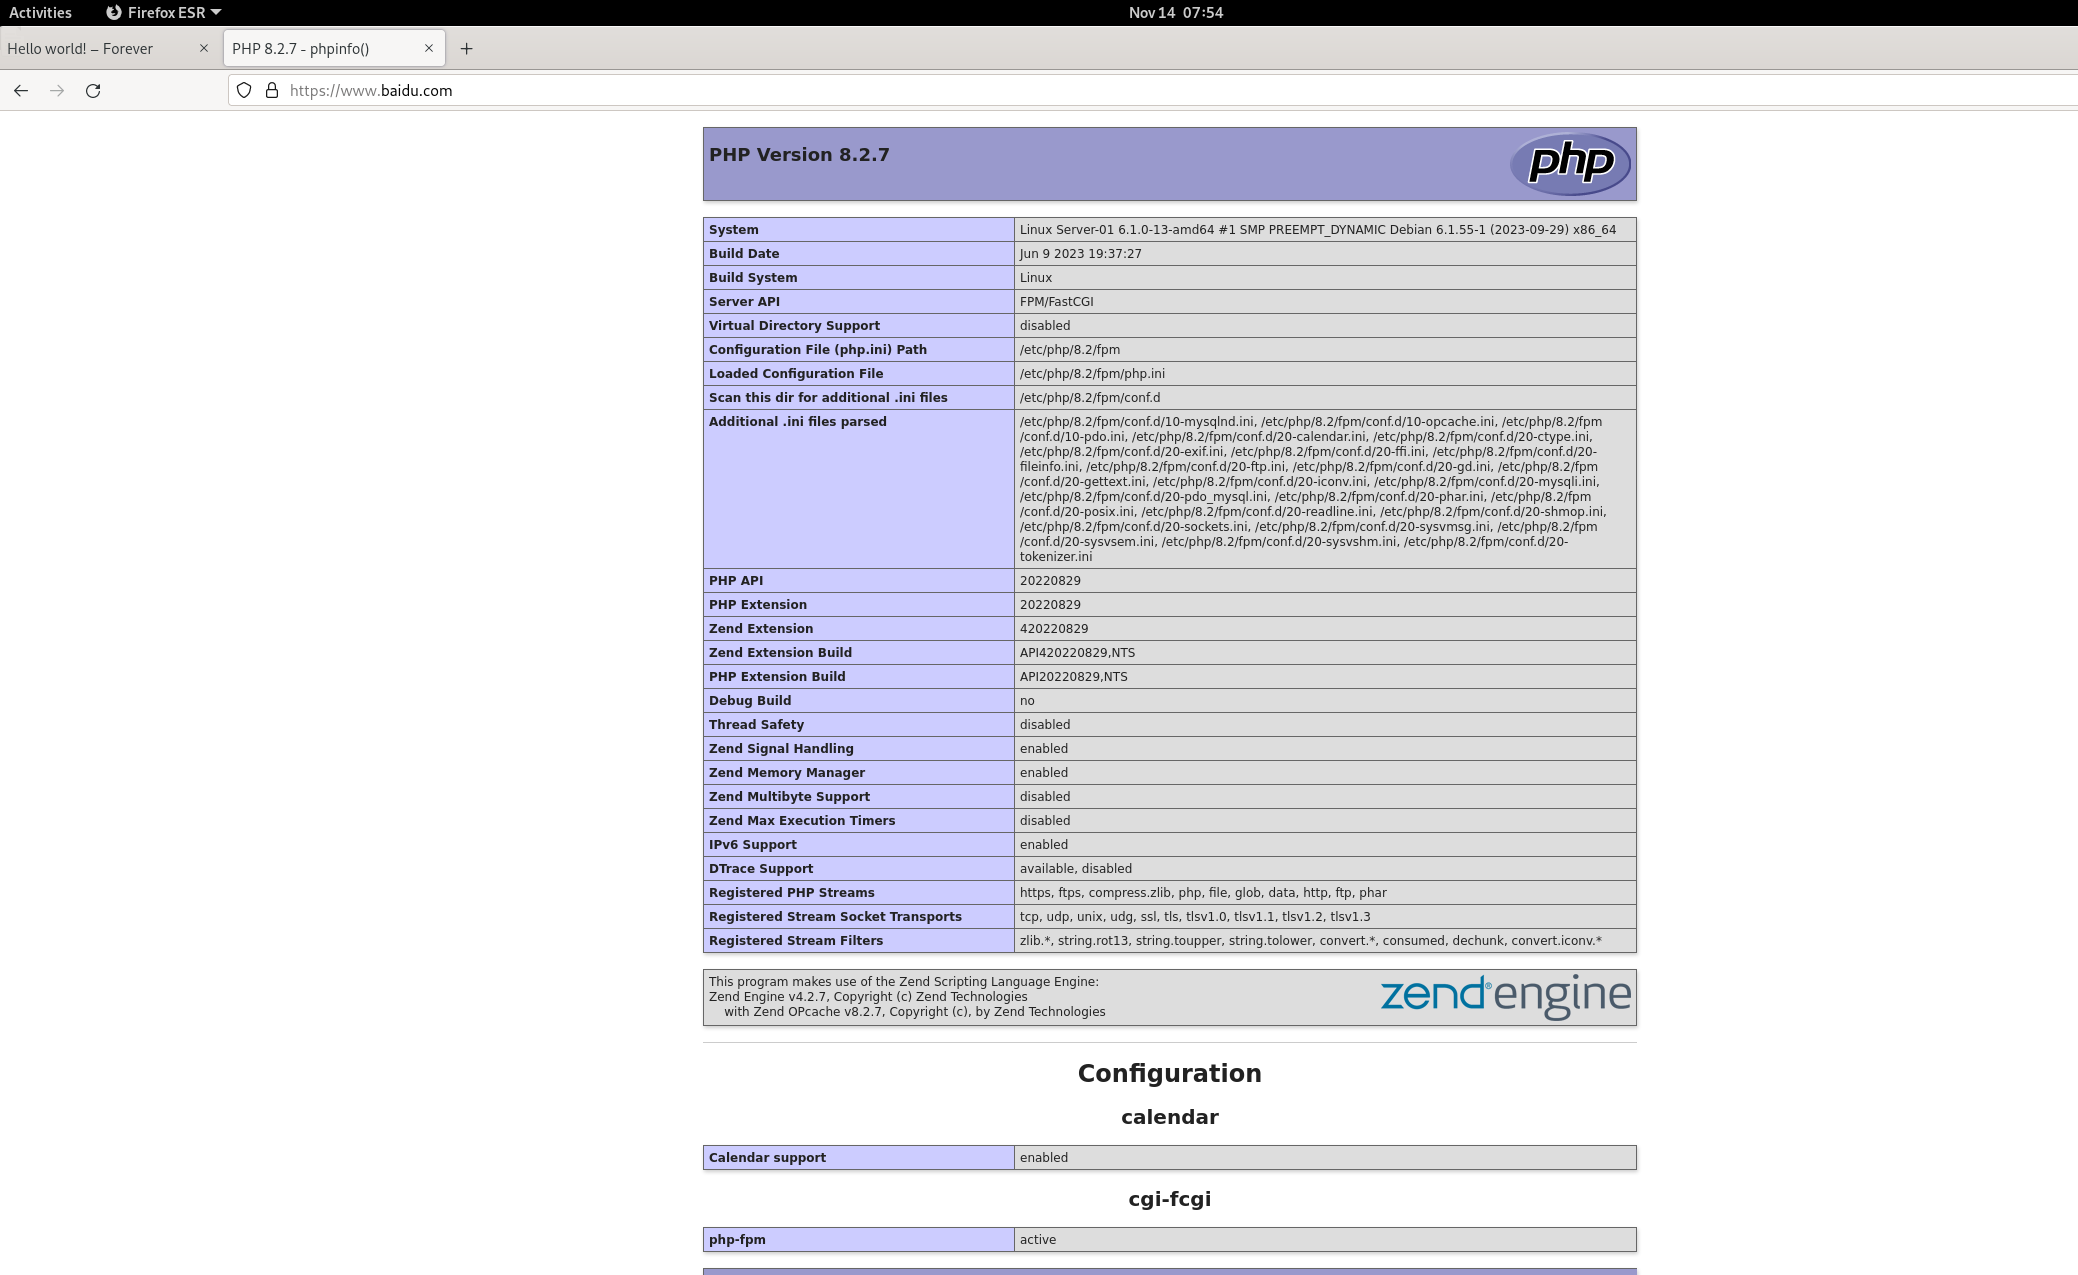
7、修改访问日志,与错误访问日志路径:
touch /var/log/nginx/itnsa.cn.log
touch /var/log/nginx/error_itnsa.cn.log
vim /etc/nginx/nginx.conf
(1)修改访问日志:
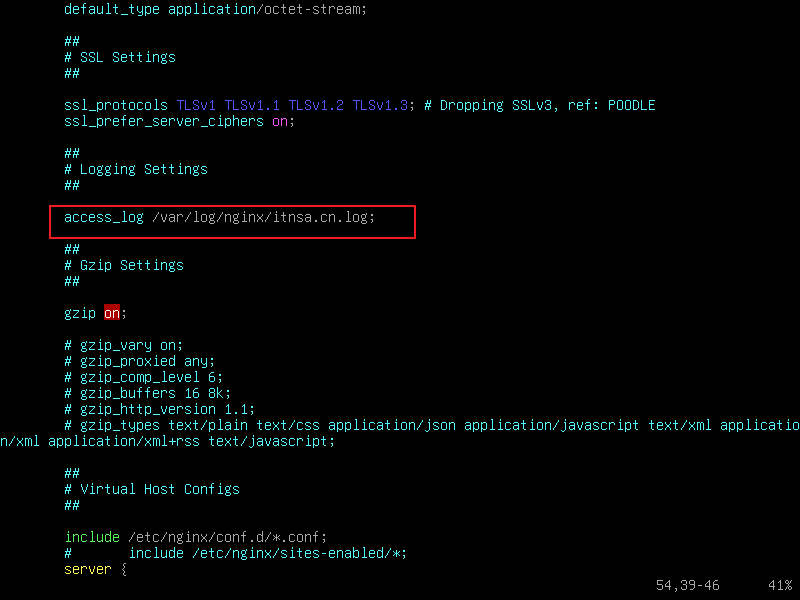
(2)修改错误信任日志:
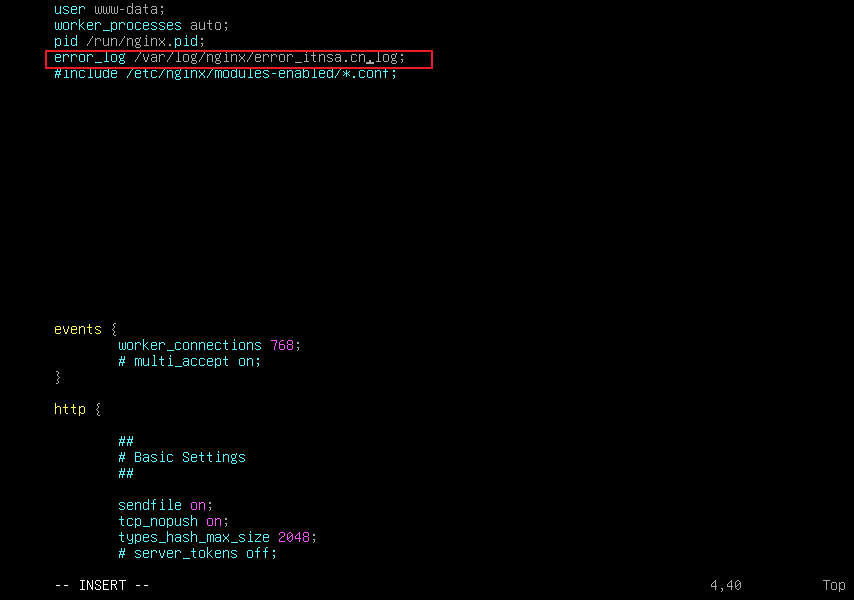
(3)在客户端上访问:
(4)查看访问日志:
cat /var/log/nginx/itnsa.cn.log
二、使用 Ansible部署Wordpress: